A complete home PC assembly.
Page 2 of 10.
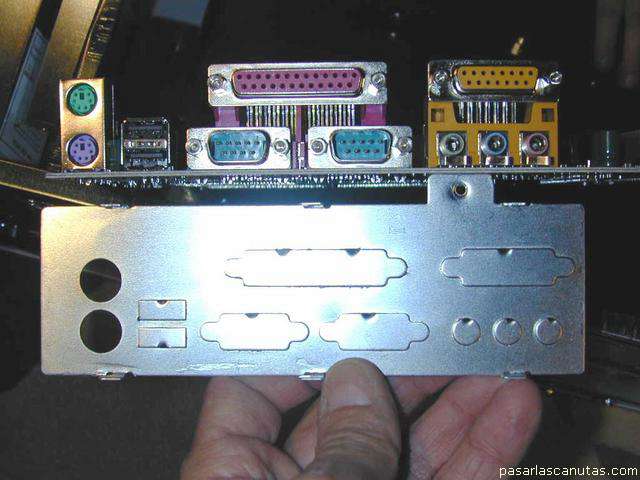
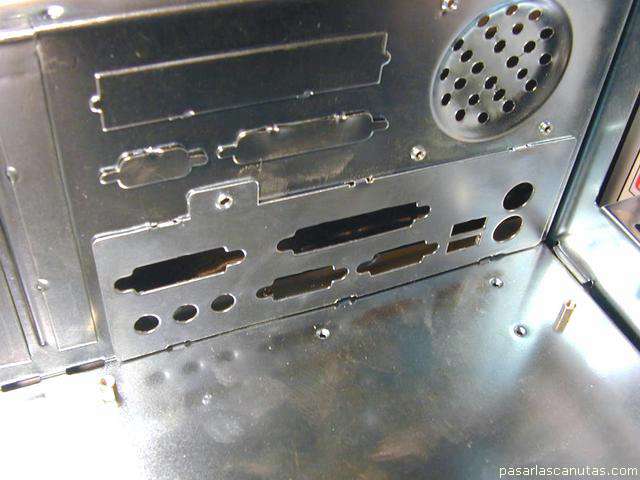
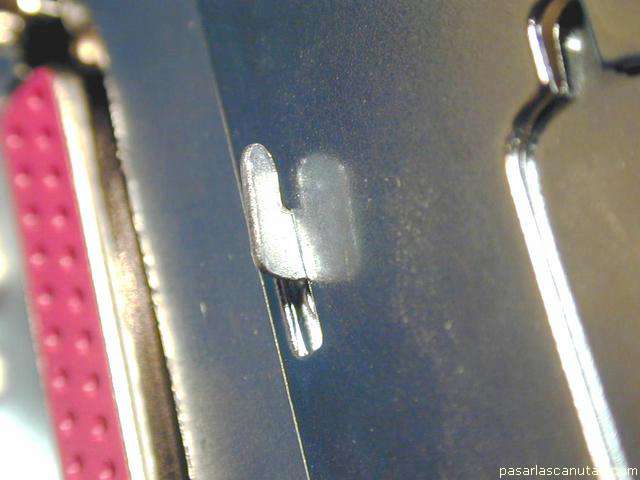
Now I select the iron frame that fits to the rear part of the motherboard ...
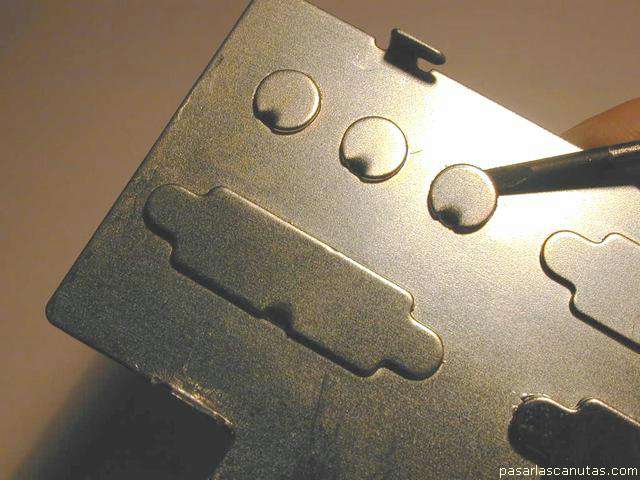
... detach the pre-cut pieces ...
... with a screw driver ...
... moving them up and down ...
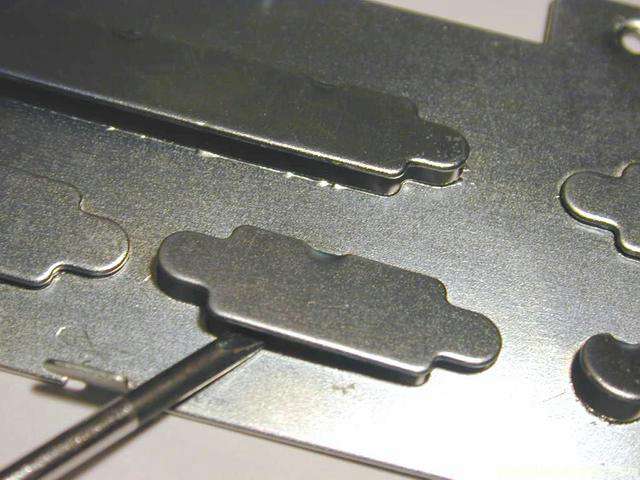
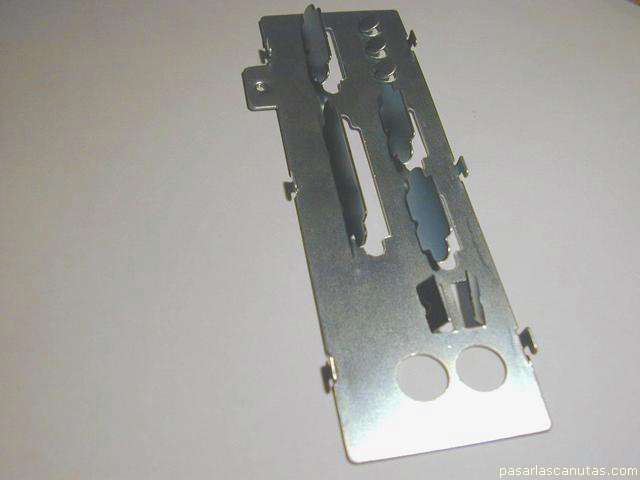
... with pliers, until separate.
Now I place the frame inside the box ...
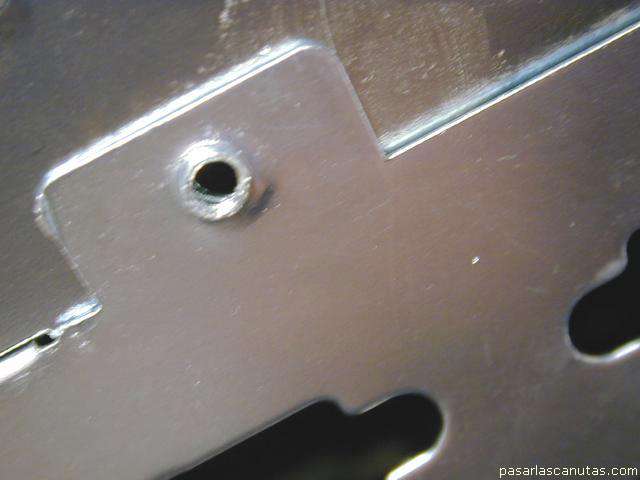
and slide it, aligning the holes of frame and box ...
... place the screw that joins both ...
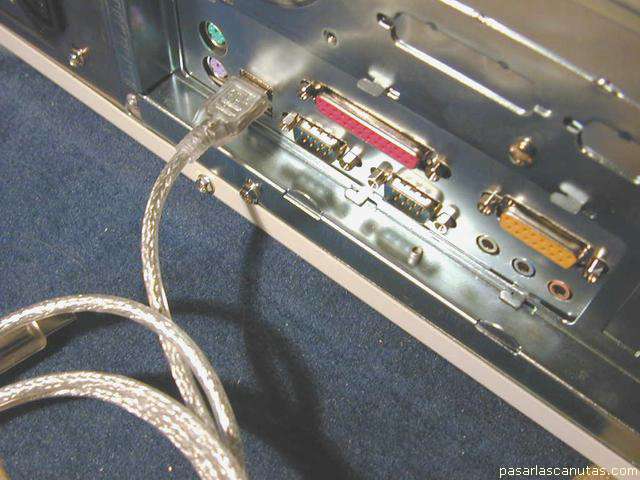
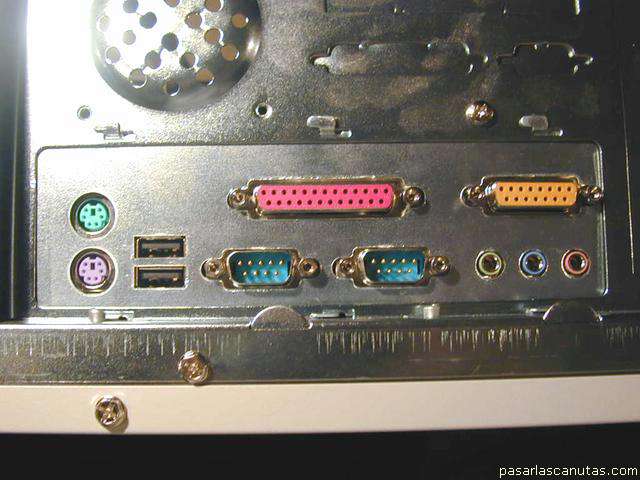
... and verify that the connectors plug easily (I test the most critical: USB).
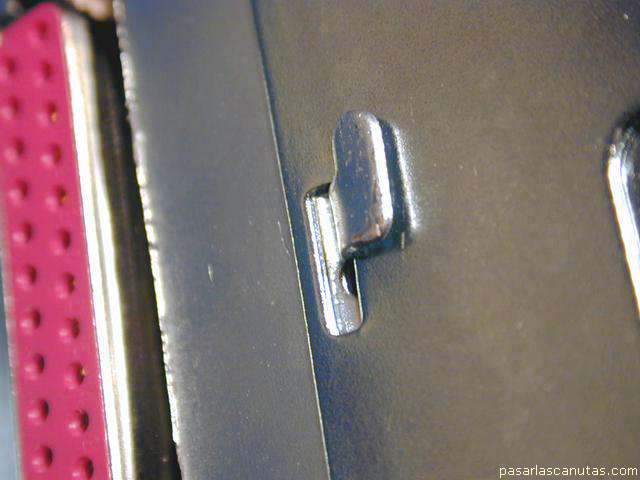
Then I bend the frame's lids ...
... as seen in the photograph (with a big screwdriver or pliers) ...
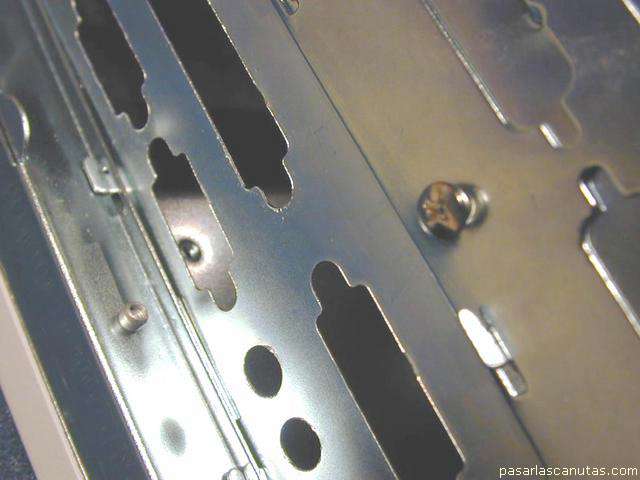
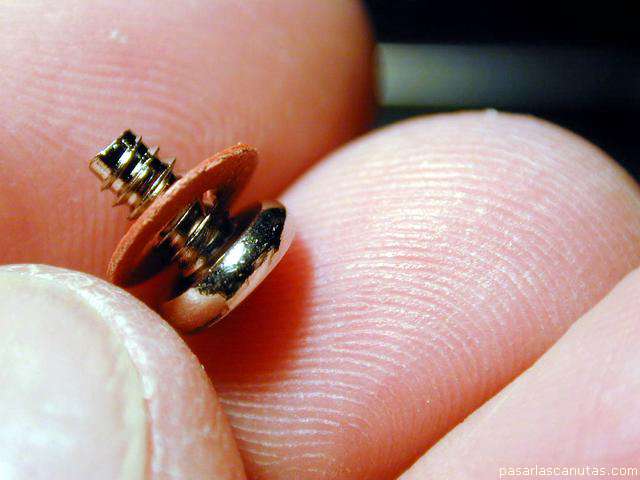
... and taking six screws with washer like this one ...
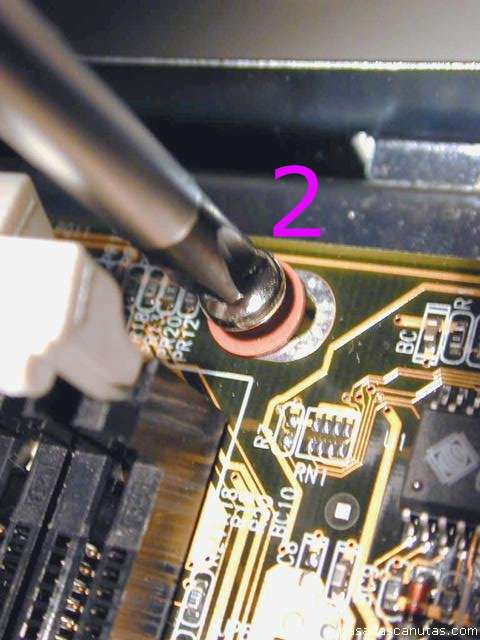
... I screw the motherboard on the
brass pieces
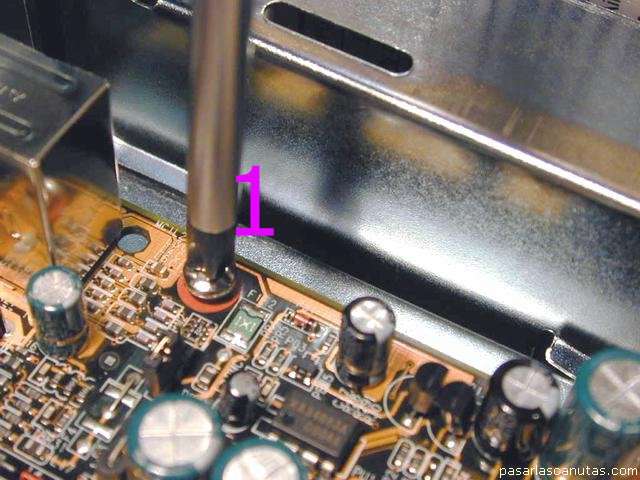
installed previously:1 ...
... 2 ...
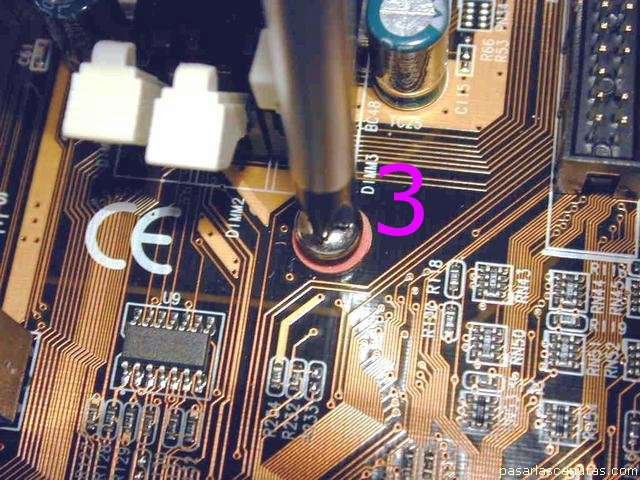
... 3 ...
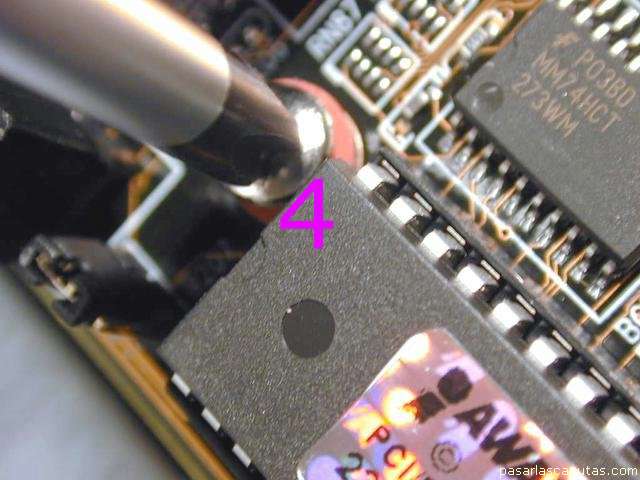
... 4 ...
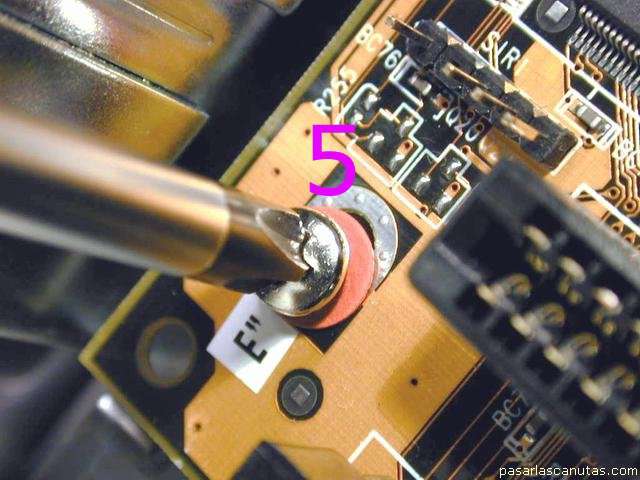
... 5 ...
... and 6: it is very important for the motherboard to keep firmly held by the six screws, and separated from the iron box by the brass pieces.
Now this is a sight of the PC, top ...
... and rear.
Copyright © story, texts and photographs are property of the owner of
www.pasarlascanutas.com
. Their use is only and exclusively authorized for personal non-profit use at home.
pg 1
page 2 (current)
pg 3
pg 4
pg 5
pg 6
pg 7
pg 8
pg 9
pg 10
www.coloredhome.com (home)


