A complete home PC assembly.
Page 8 of 10.
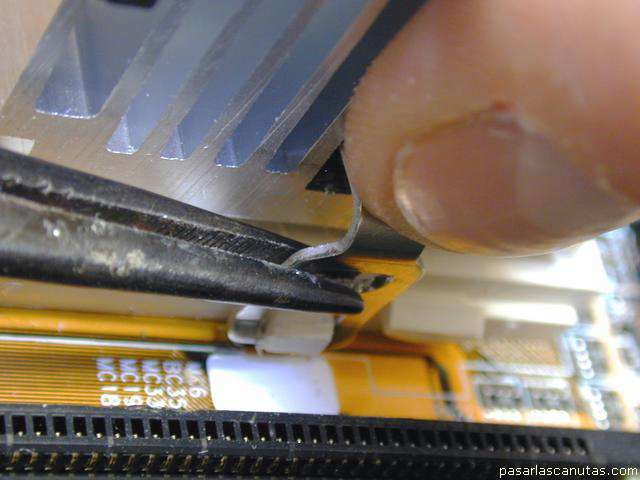
... I have forced the bracket to slide over the socket's hook, and the bracket hooks.
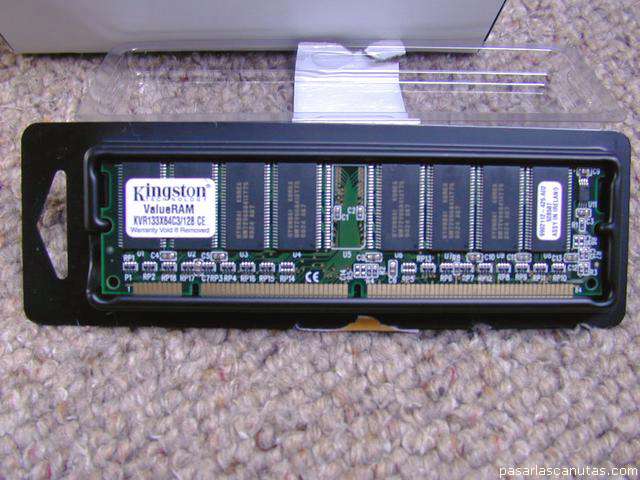
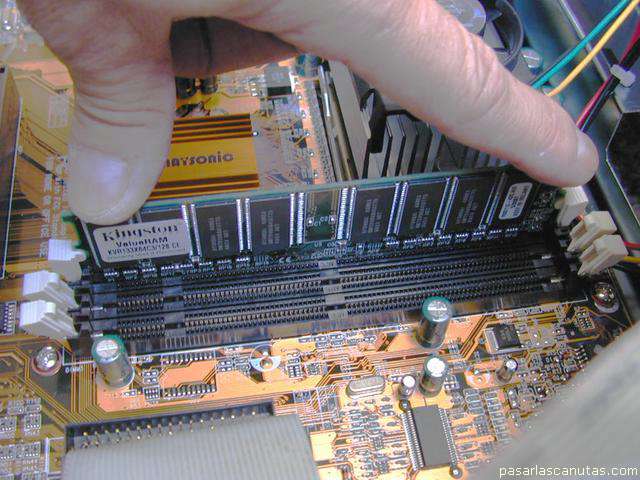
ˇUfff! ... Now I take the DIMM memory ...
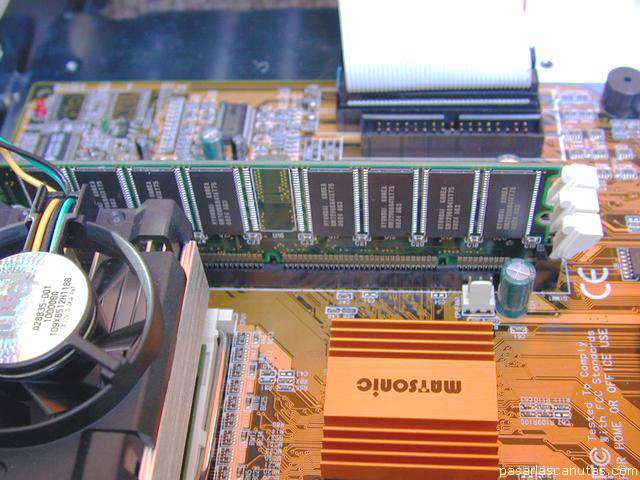
... I place it on the first memory socket, after checking the motherboard's handbook ...
... view from the other side (there is only one right position for the memory in the socket, due to asymmetric notches) ...
... and I plug it, pushing both sides at the same time, slightly tilting.
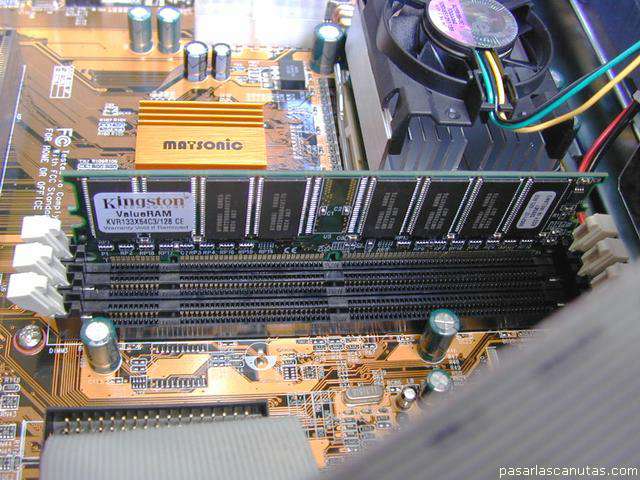
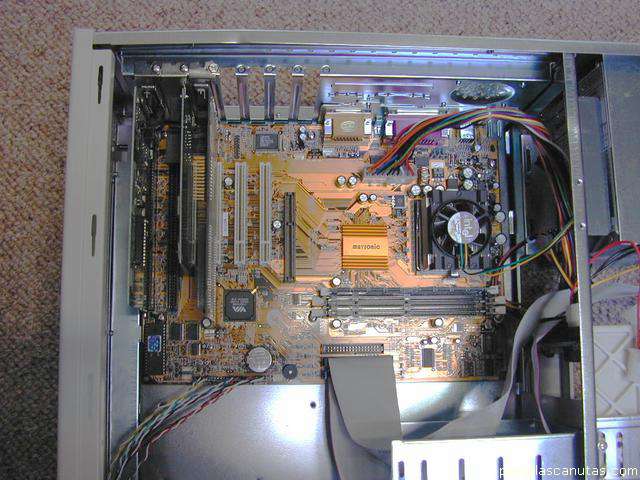
PC view at this moment.
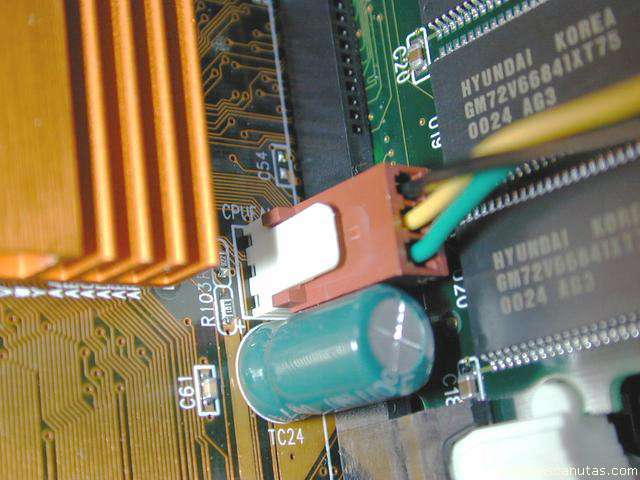
I connect the CPU fan cable ...
... in its connector: CPUFAN.
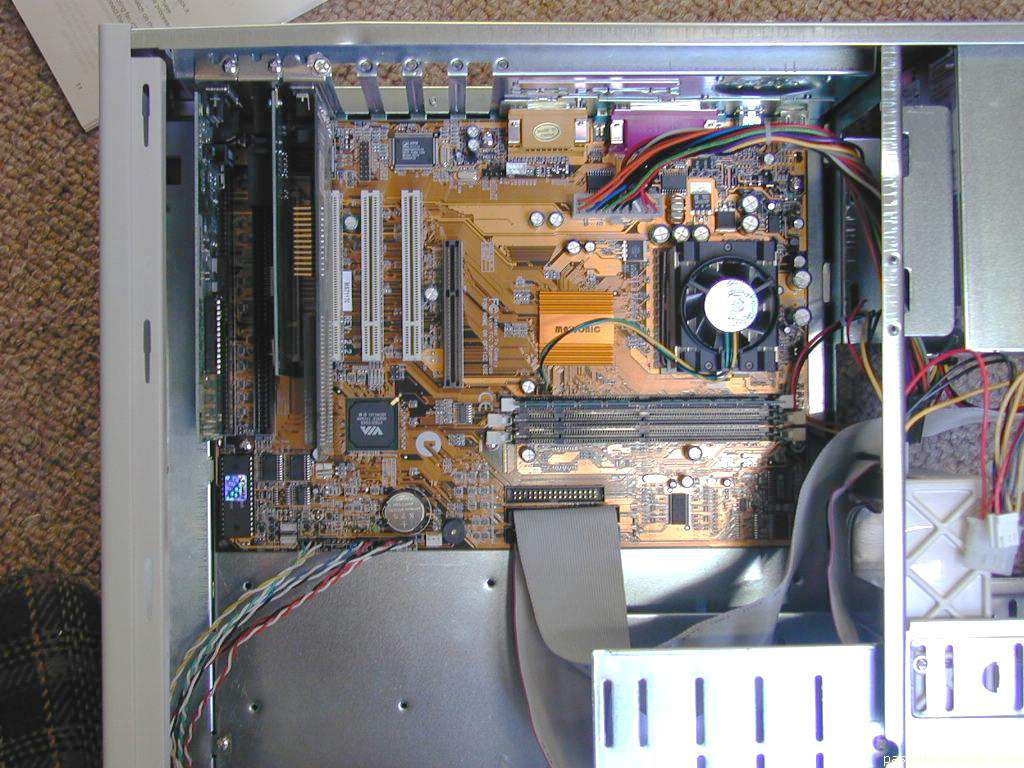
New view, in case any detail has been missed.
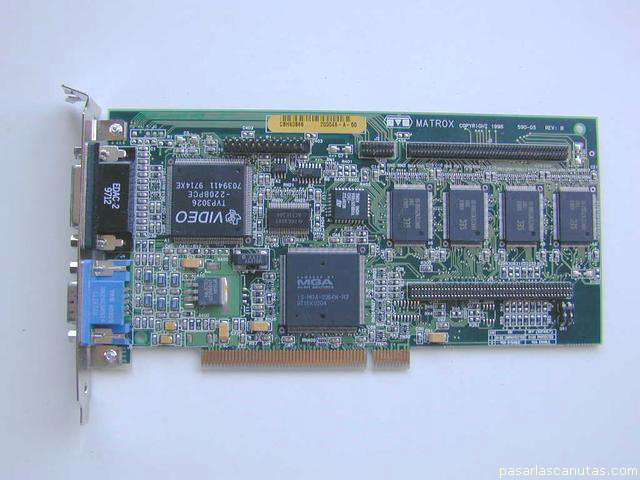
Now, I take another graphics board, also a good old PCI type ...
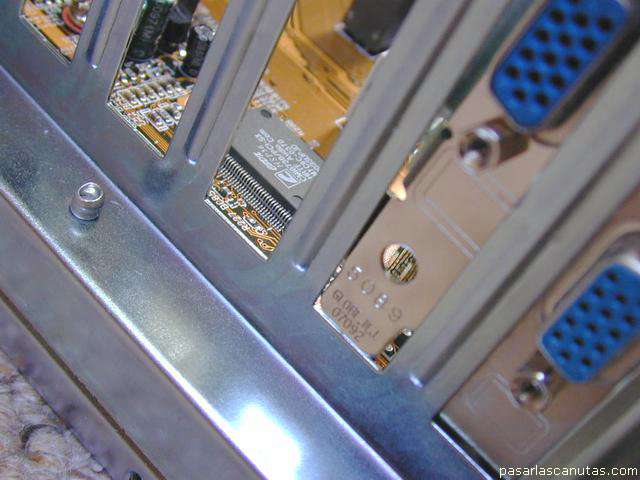
... and assemble it. In this way I will be able to use two monitors. As it is stopped by the box edge ...
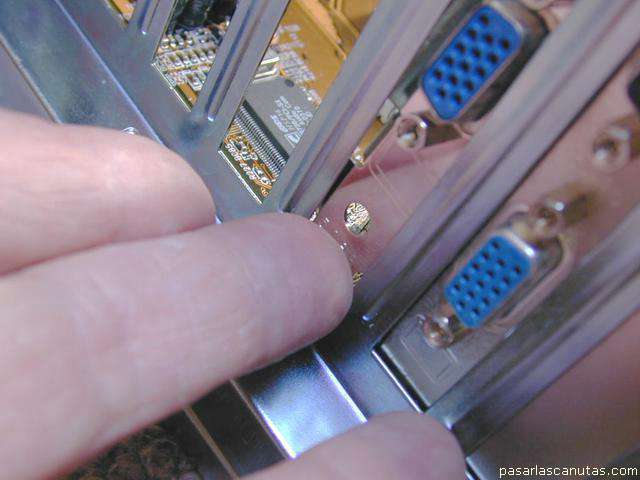
... I push a little with a finger from the rear.
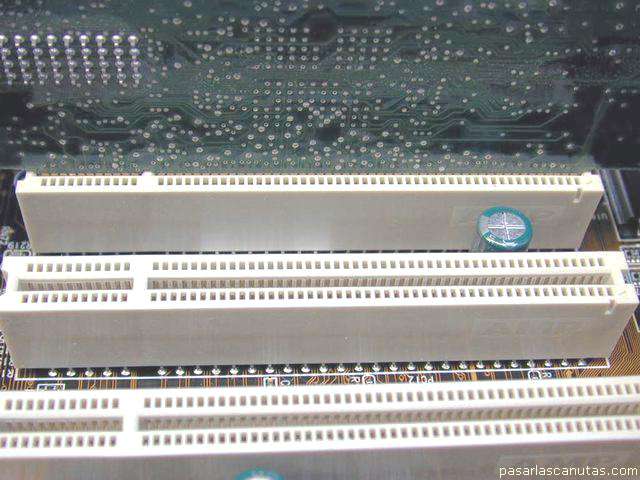
It fits very well into the slot (connector) ...
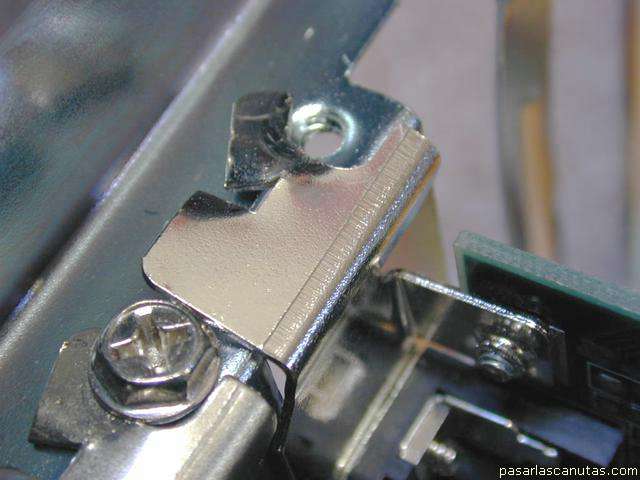
... but I have to do the same as with the first graphics board about the lid-threaded hole overlapping -I drastically bend the lid-.
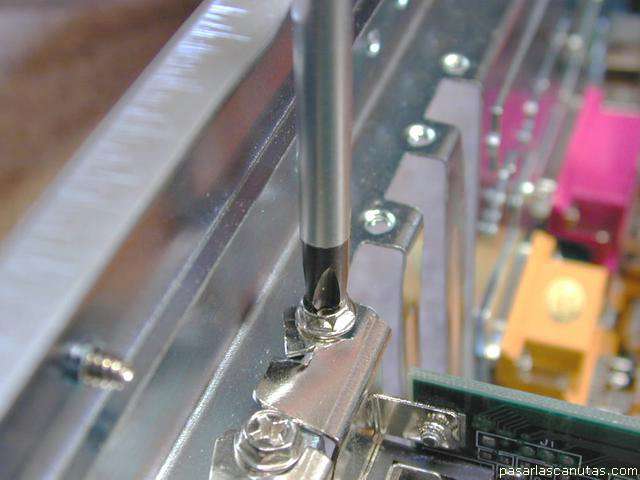
And with another big head screw ...
... it is fastened ...
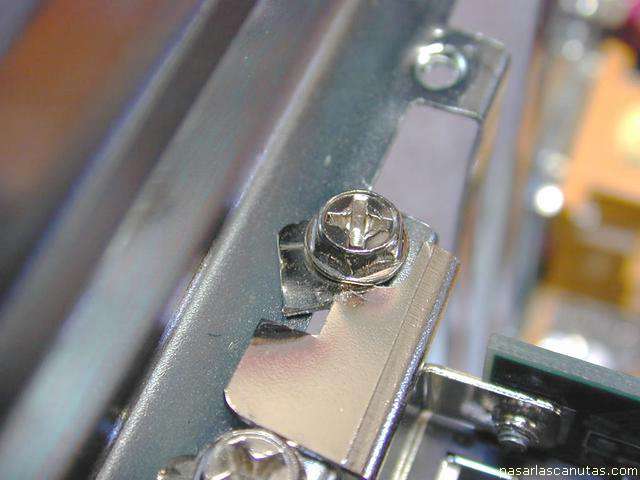
... detail.
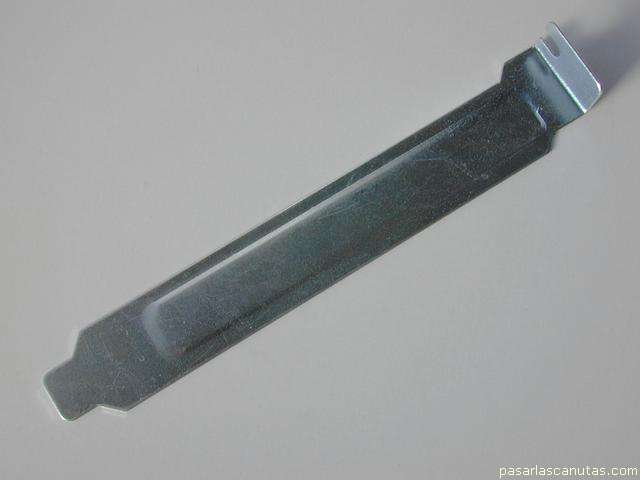
These plates included in the ATX box kit ...
... are used to cover the holes aligned with the slots that I do not use.
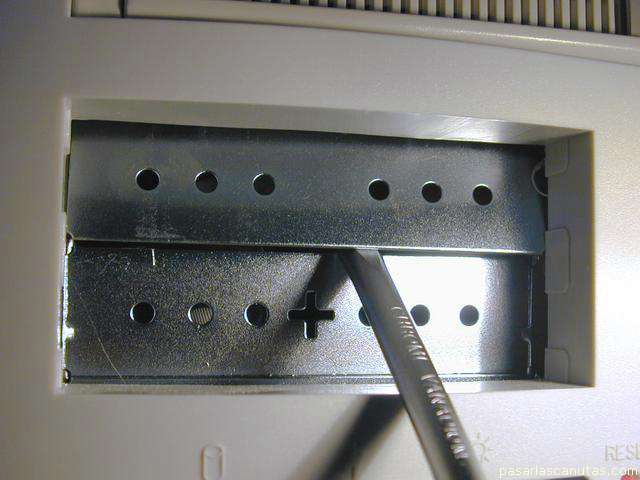
Now, to install the floppy reader, I have to remove the coresponding pre-cut plates in the box with a screw driver and ...
Copyright © story, texts and photographs are property of the owner of
www.pasarlascanutas.com
. Their use is only and exclusively authorized for personal non-profit use at home.
pg 1
pg 2
pg 3
pg 4
pg 5
pg 6
pg 7
page 8 (current)
pg 9
pg 10
www.coloredhome.com (home)