A complete home PC assembly.
Page 3 of 10.
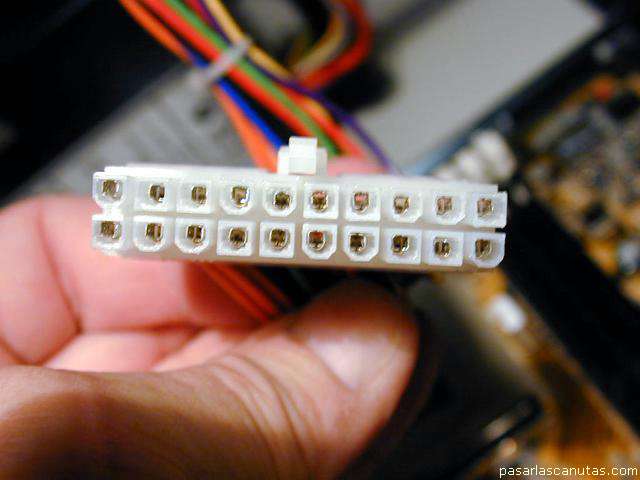
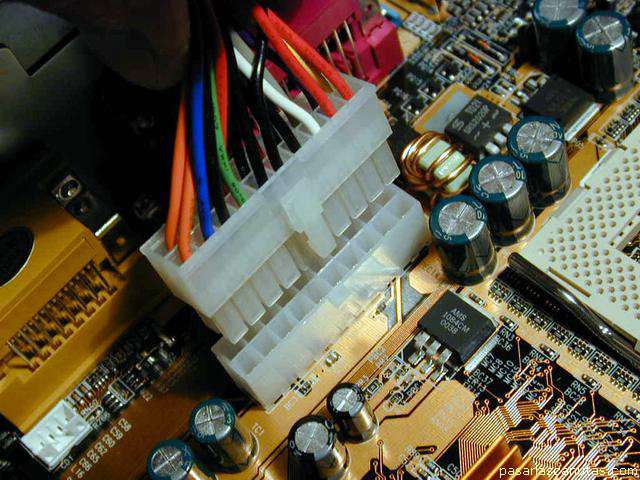
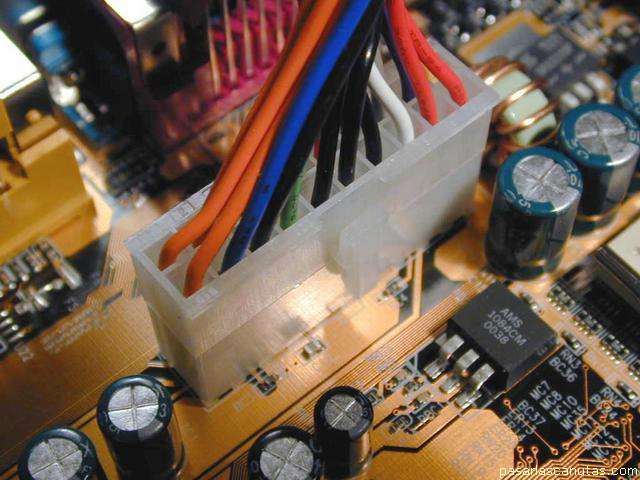
Now I start connecting the motherboard. First power ...
... plugging into its corresponding connector ...
... until sounds a "click".
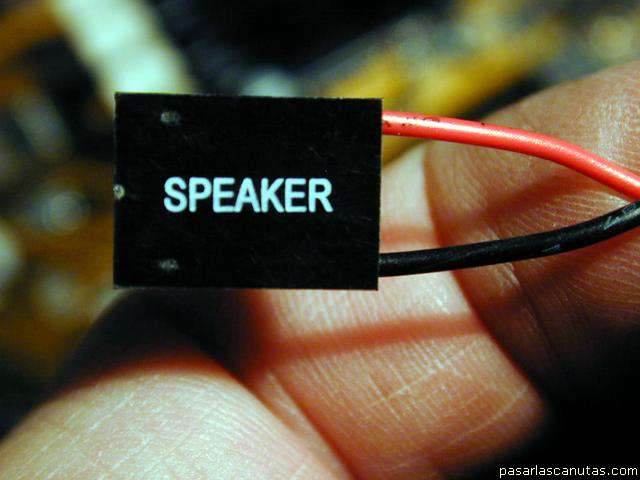
After, I place the loudspeaker on the three lids in the box ...
... and then, the small connectors: loudspeaker ...
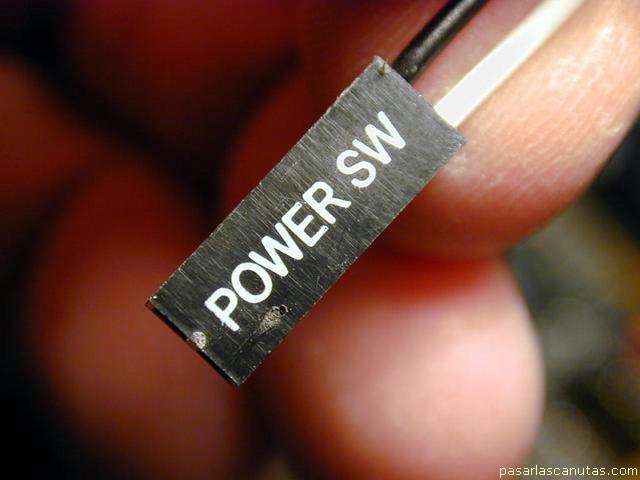
... power switch ...
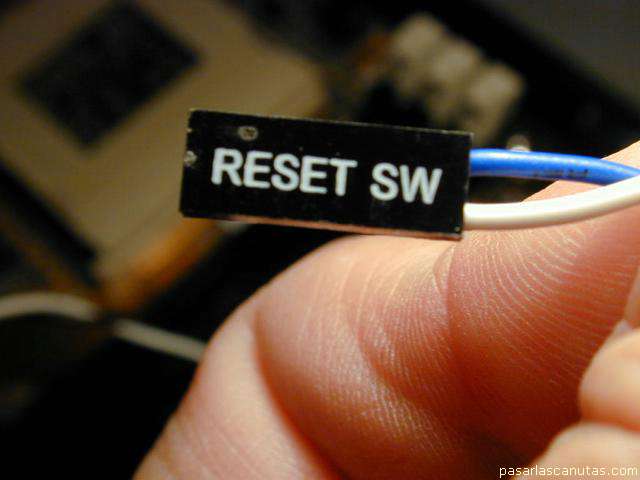
... reset switch ...
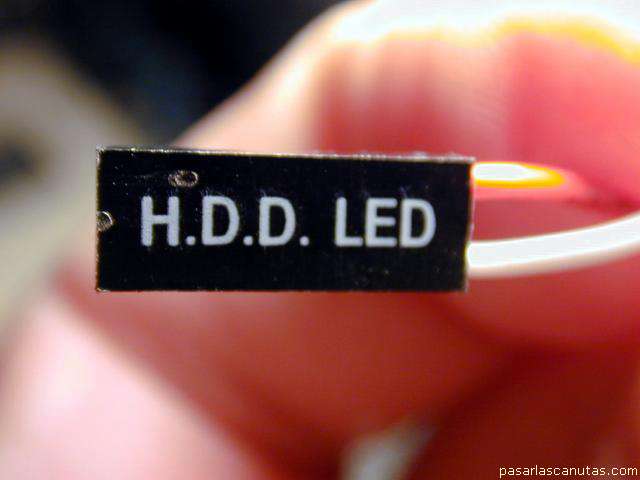
... hard disks LED ...
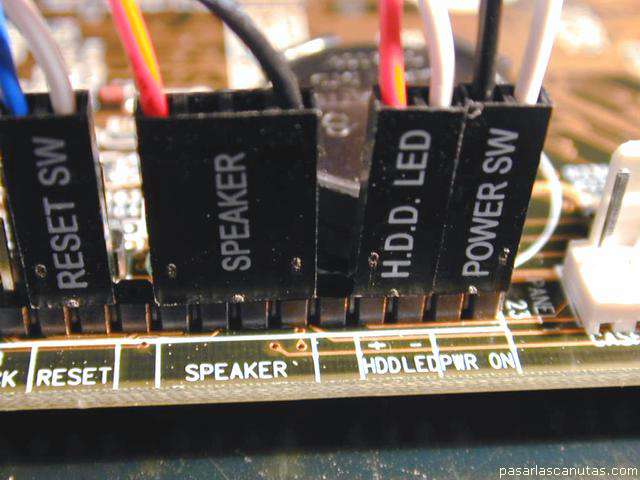
... in its corresponding places ...
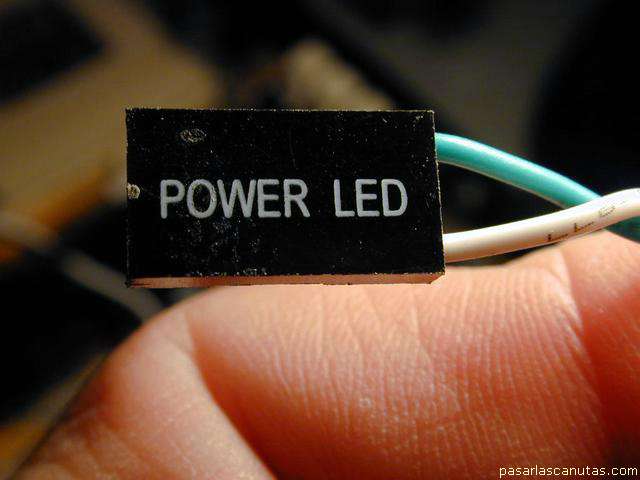
... power LED ...
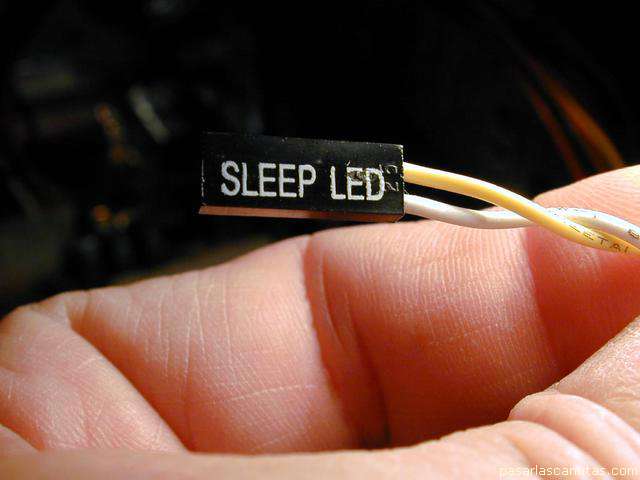
... and sleep LED ...
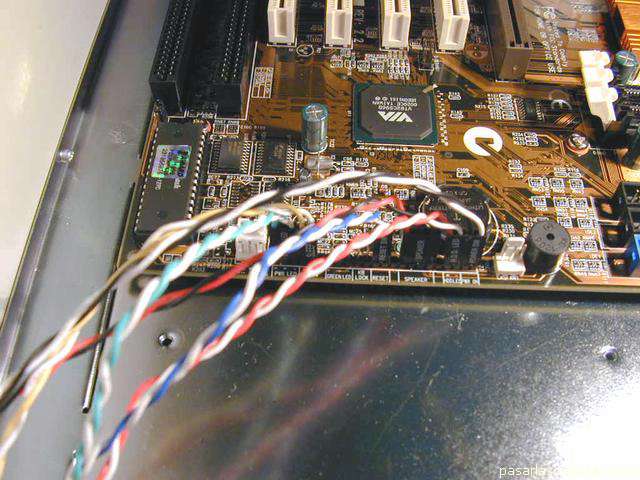
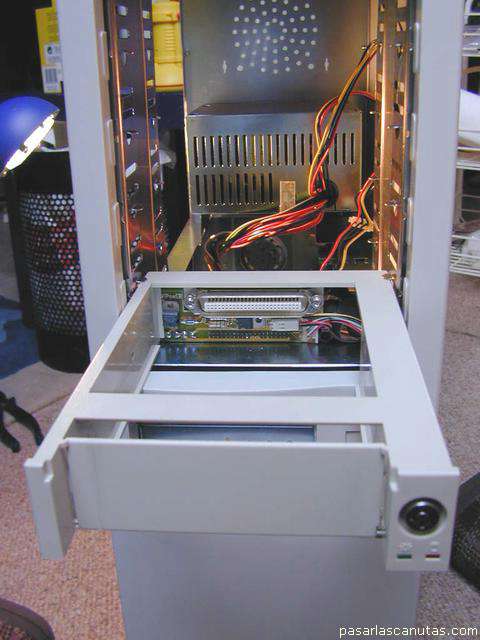
A sight of all, already connected.
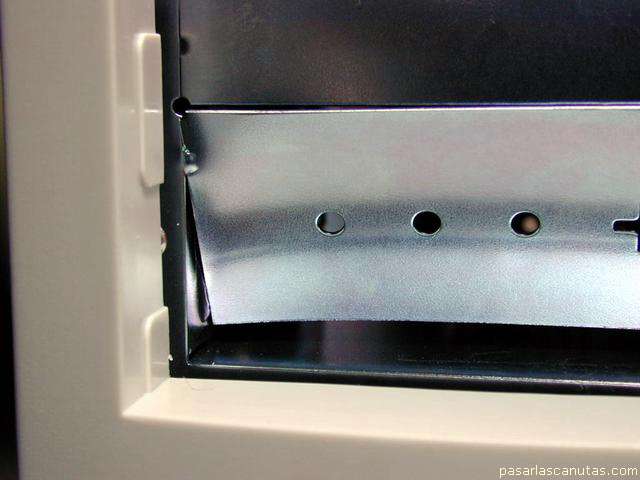
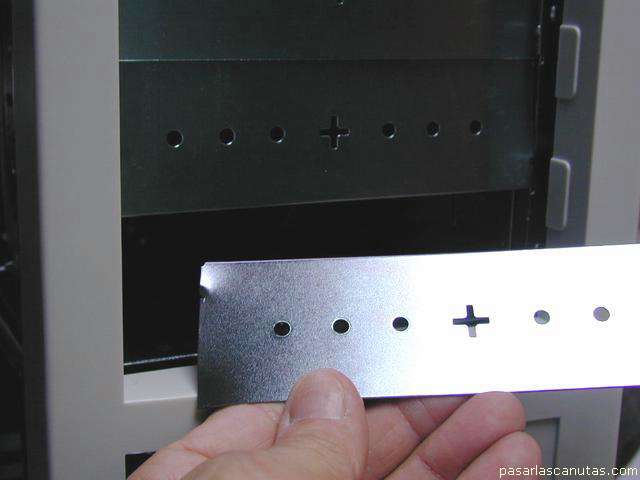
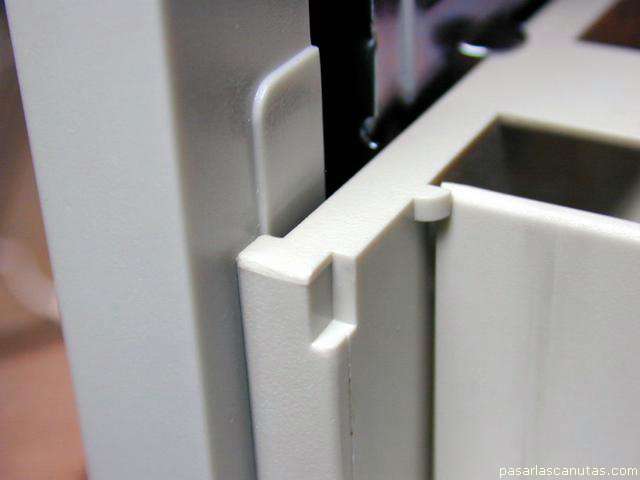
Now I am going to detach the pre-cut plates that cover the 5 1/4" bays in the box ...
... turning them several times ...
... until they detach.
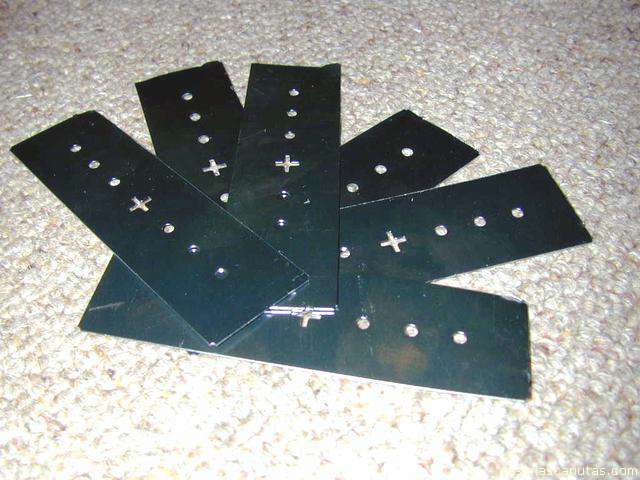
I detach all them (6), to have all bays ready for future installation.
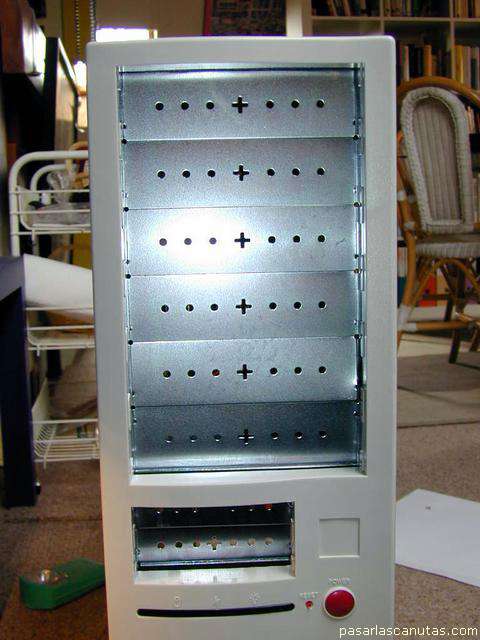
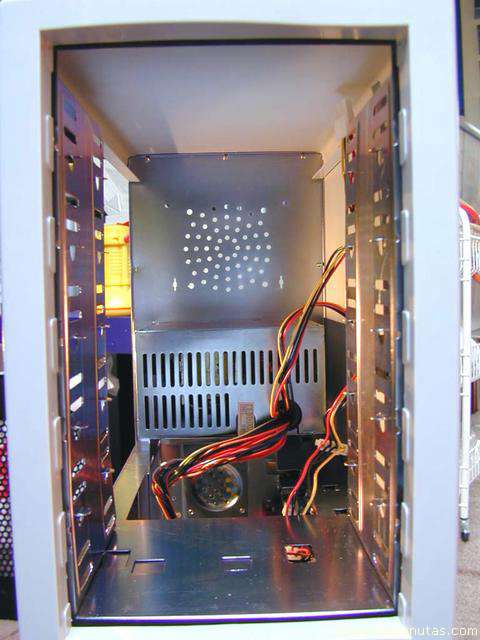
A sight of the box without the plates.
I introduce a DMA33 hard disk mobile rack base ...
... just without screws ....
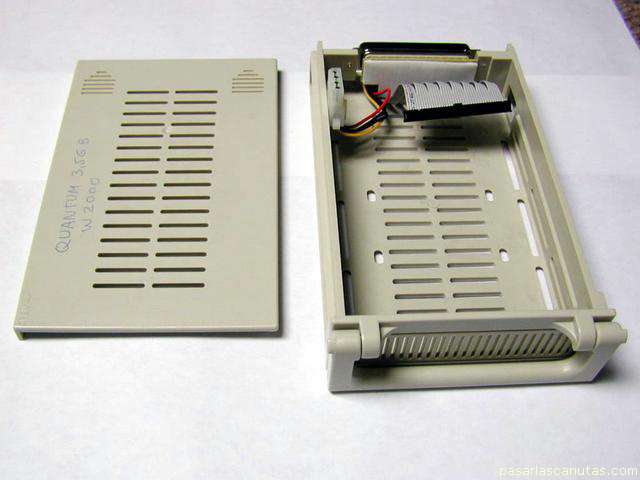
... and I assemble de hard disk to the mobile rack removable part ...
Copyright © story, texts and photographs are property of the owner of
www.pasarlascanutas.com
. Their use is only and exclusively authorized for personal non-profit use at home.
pg 1
pg 2
page 3 (current)
pg 4
pg 5
pg 6
pg 7
pg 8
pg 9
pg 10
www.coloredhome.com (home)