A complete home PC assembly.
Page 5 of 10.
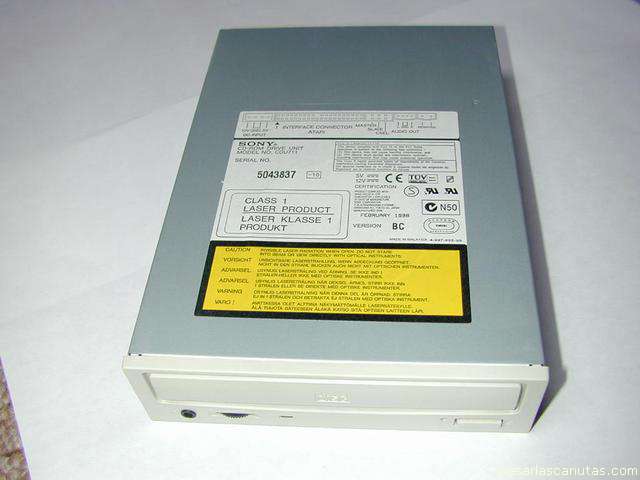
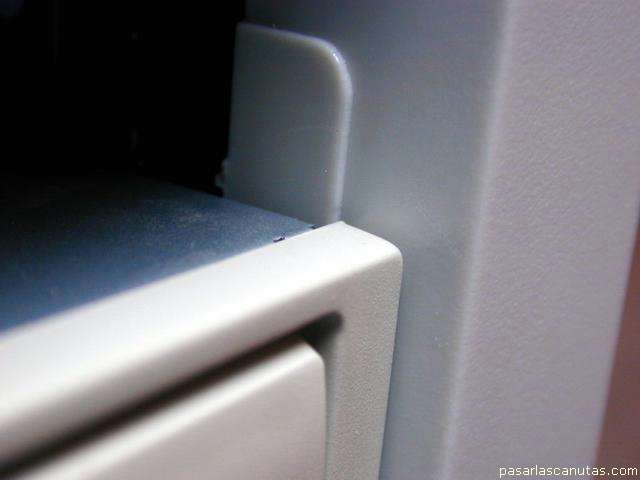
Now I take the CDROM reader (a recorder would be connected exactly in the same way)...
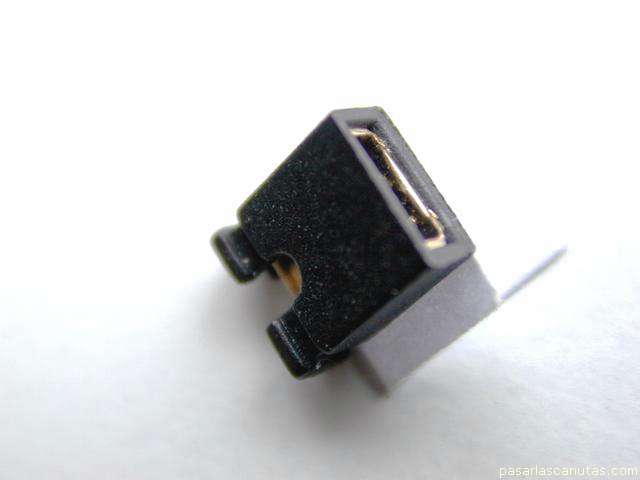
... and place the configuration plug ...
also in MASTER, since I am going to use separated flat cables for hard disk and CDROM reader ...
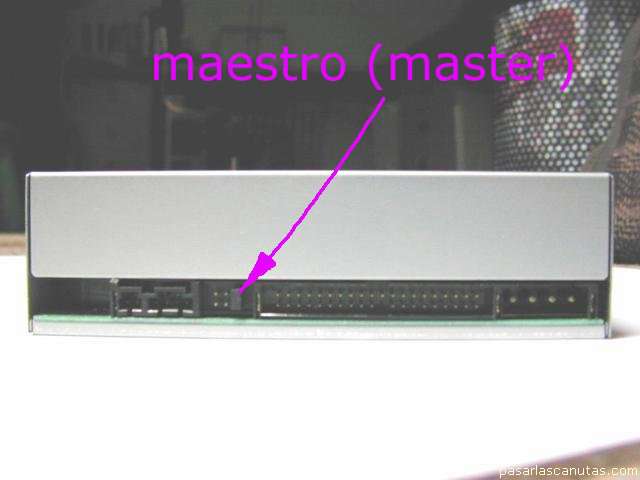
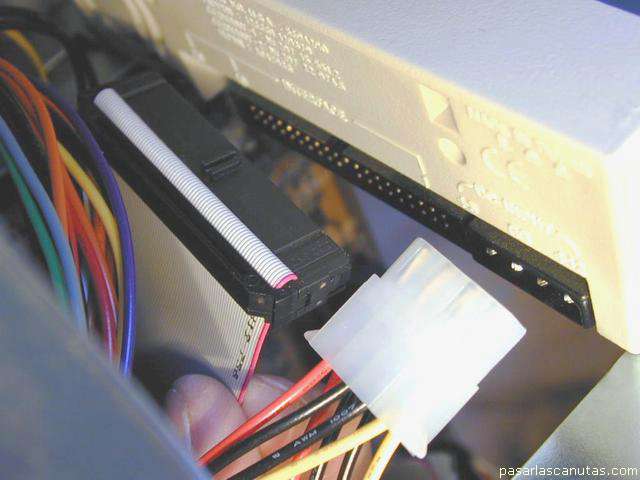
... here, another view (with the flat cable connector already installed) ...
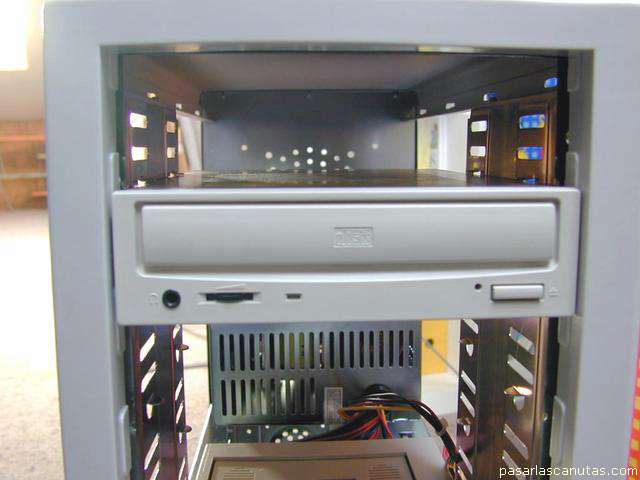
I introduce the CDROM reader in a bay ...
... also without using the screws yet ...
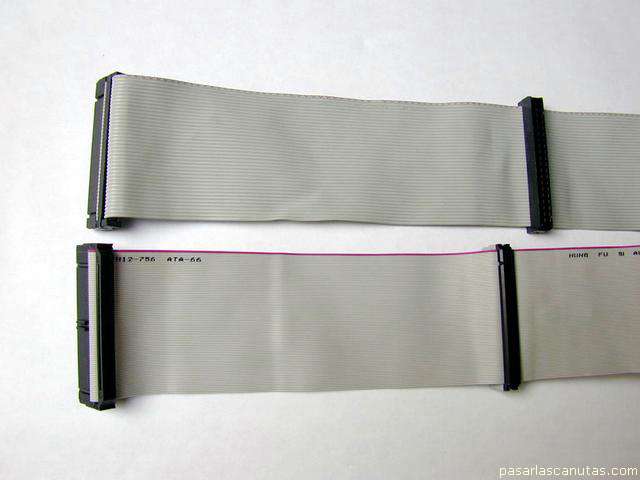
... and take two flat cables (the DMA66 one was included in the motherboard box, the other was acquired). In this way further disk installations will be easier.
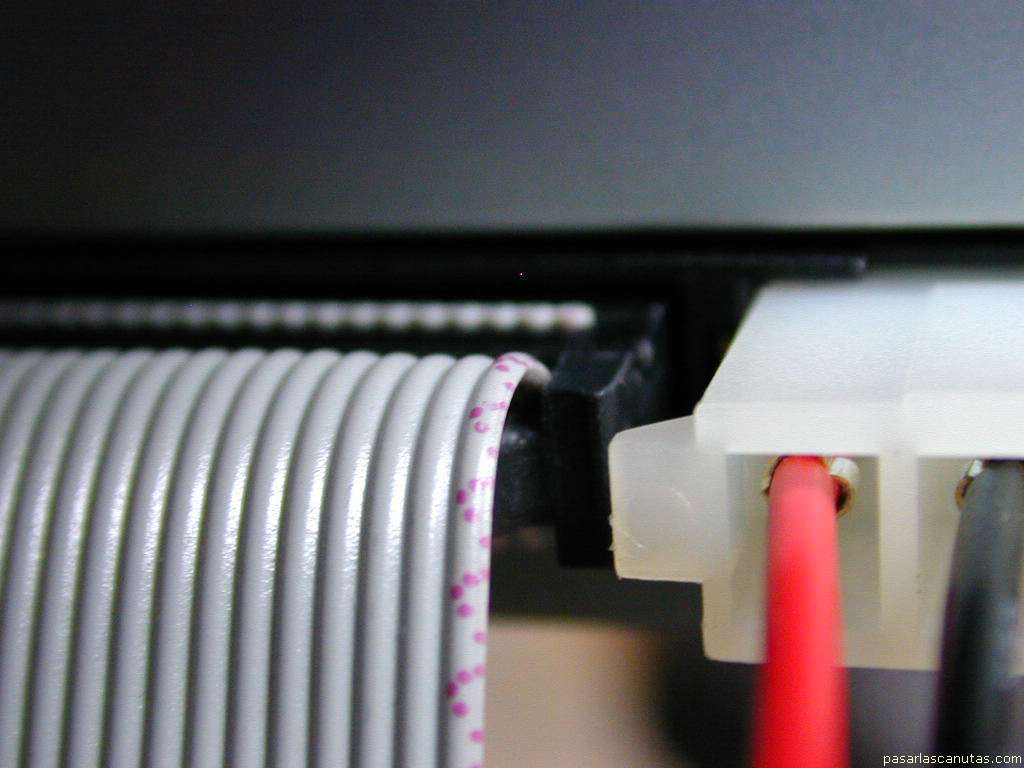
Here, connecting the mobile rack: the red mark at the edge of the flat cable, that identifies pin 1, ...
... has to be next to the power connector side.
Detail of the CDROM connection.
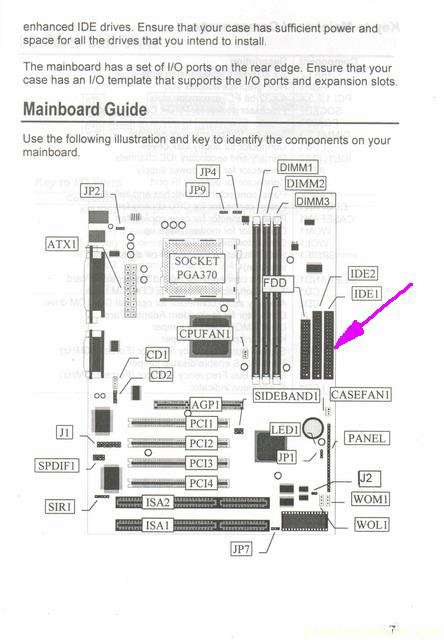
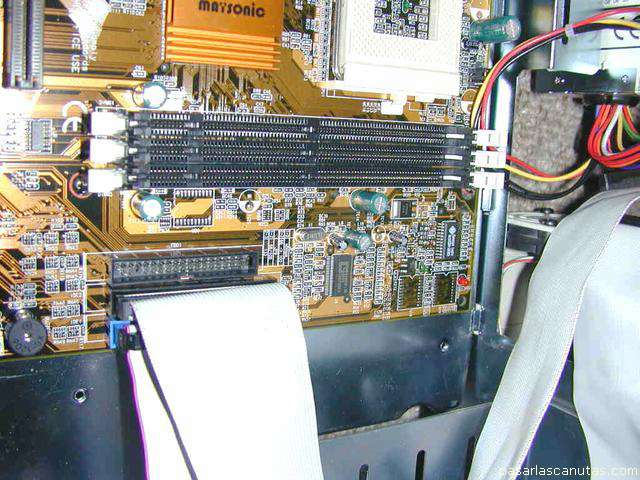
Now I check the motherboard handbook ...
... to verify IDE1 connector, to connect the hard disk -mobile rack- flat cable ...
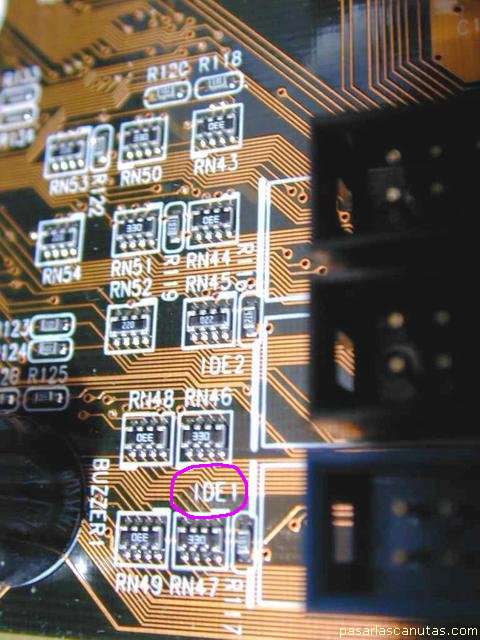
... in this case it can also be checked directly in the motherboard.
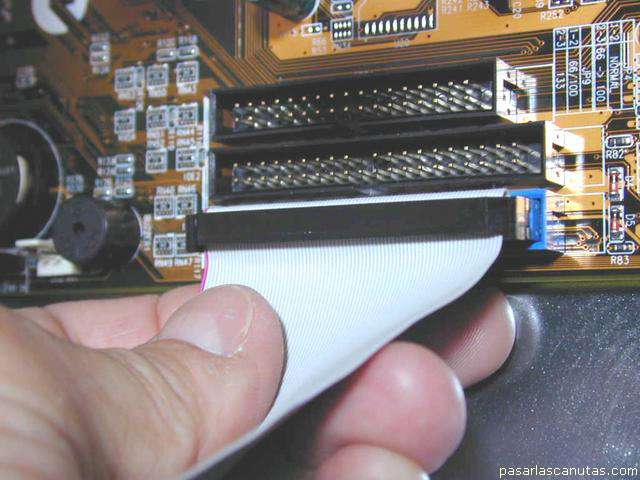
Connecting.
View of the second flat cable (the CDROM one) already connected in IDE2.
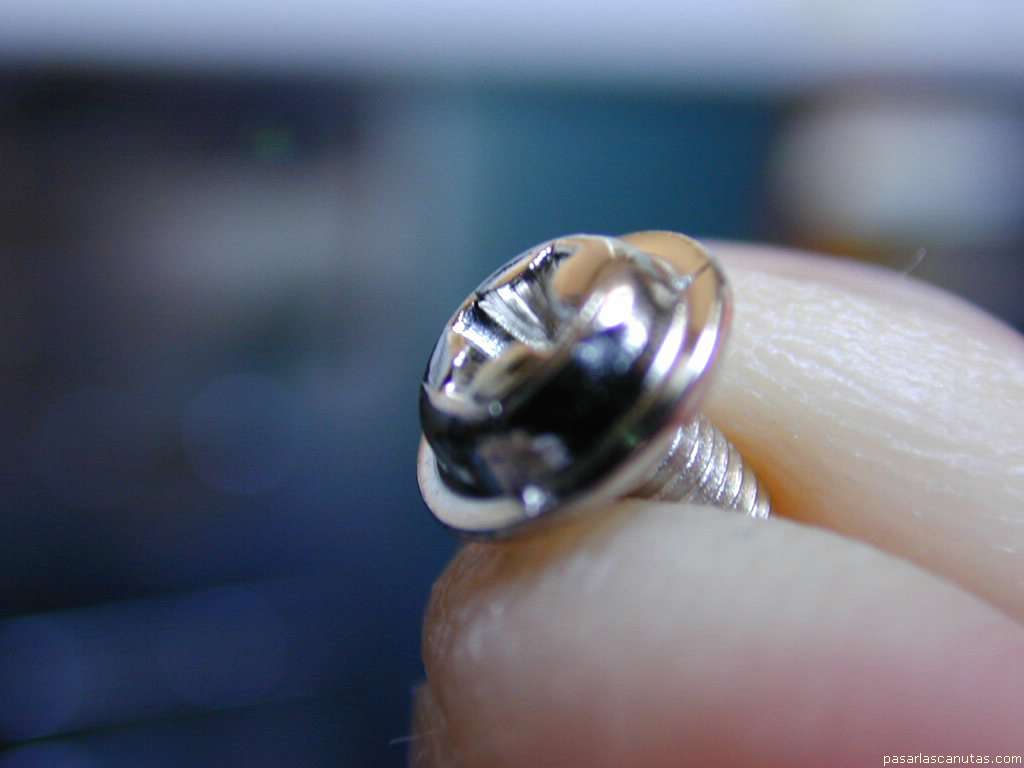
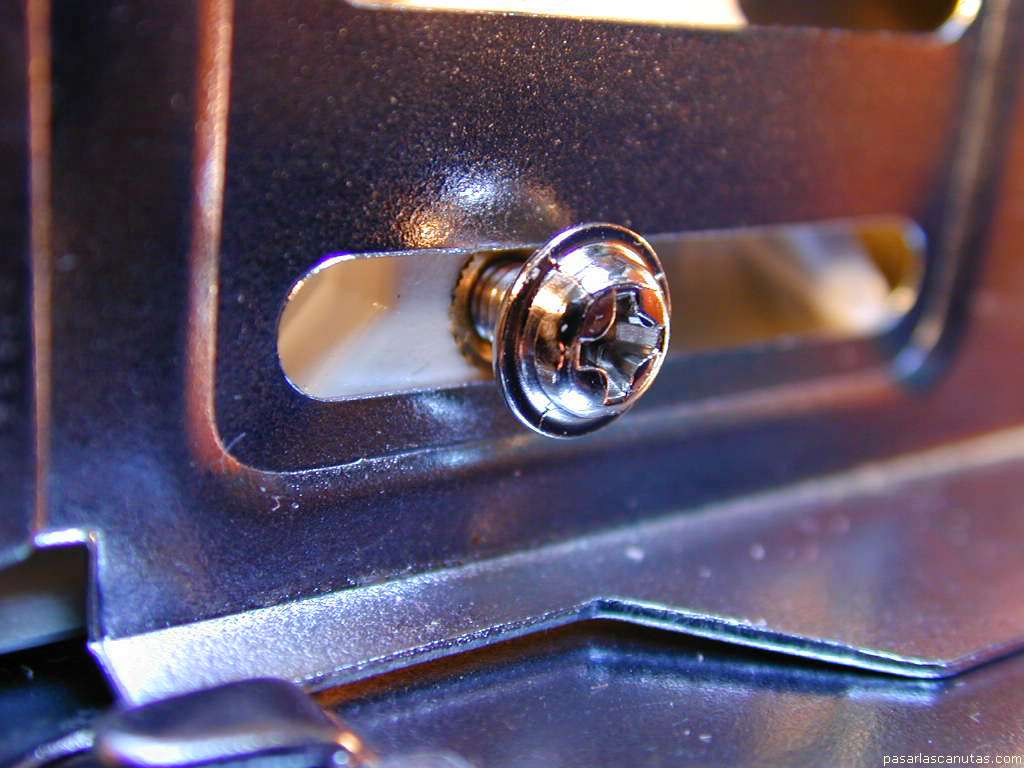
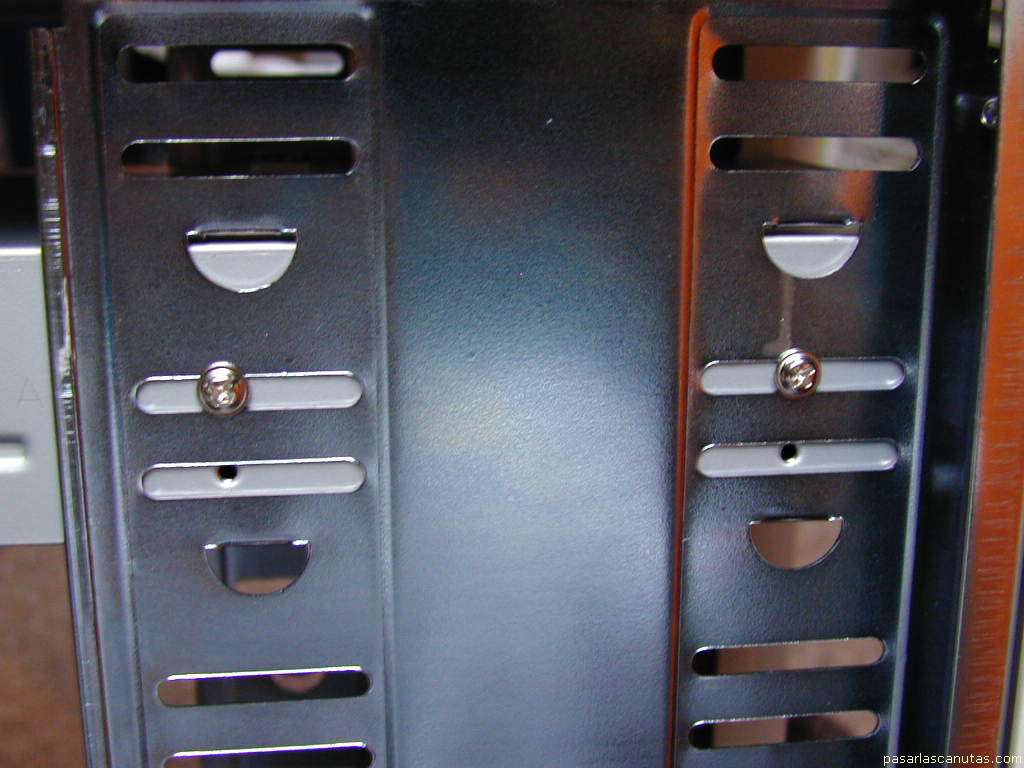
Now, with these screws ...
... finish the installation of the hard disk's ...
... mobile rack ...
... and the CDROM reader (two screws at each side).
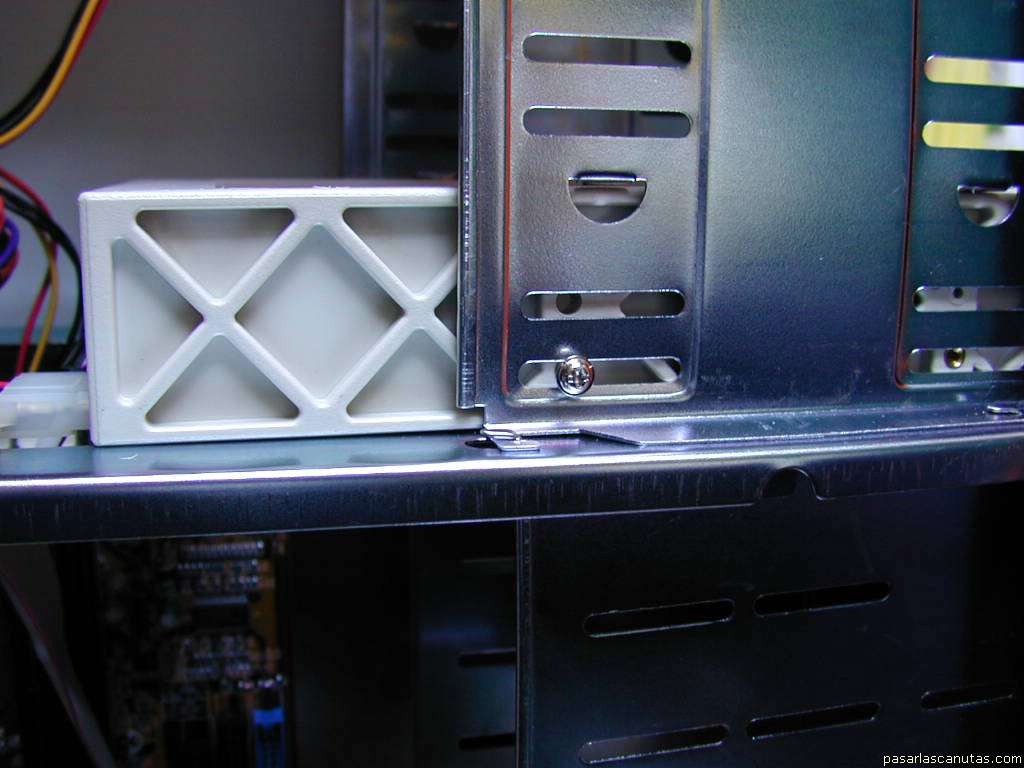
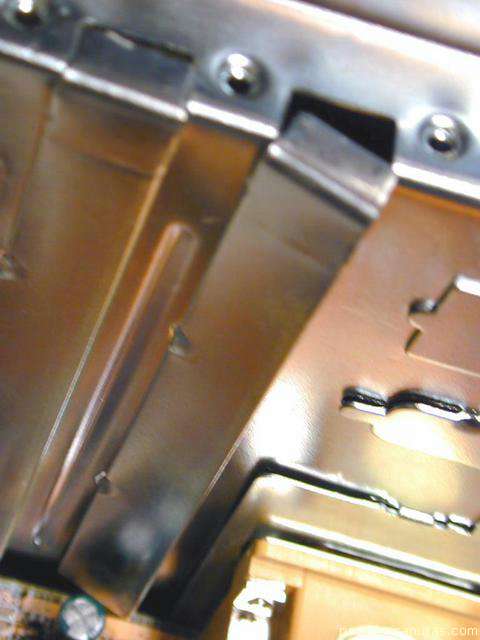
In order to prepare the installation of the different electronic boards, I detach the plates ...
Copyright © story, texts and photographs are property of the owner of
www.pasarlascanutas.com
. Their use is only and exclusively authorized for personal non-profit use at home.
pg 1
pg 2
pg 3
pg 4
page 5 (current)
pg 6
pg 7
pg 8
pg 9
pg 10
www.coloredhome.com (home)