A complete home PC assembly.
Page 7 of 10.
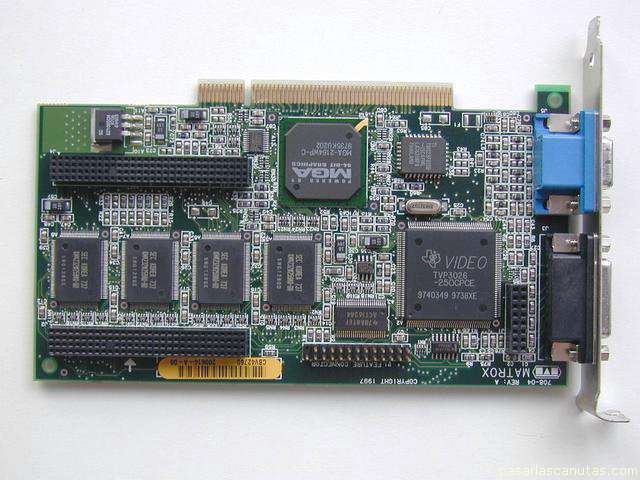
Now I am going to assemble the graphics board, that I have from other PC: it is an old but good, PCI type ...
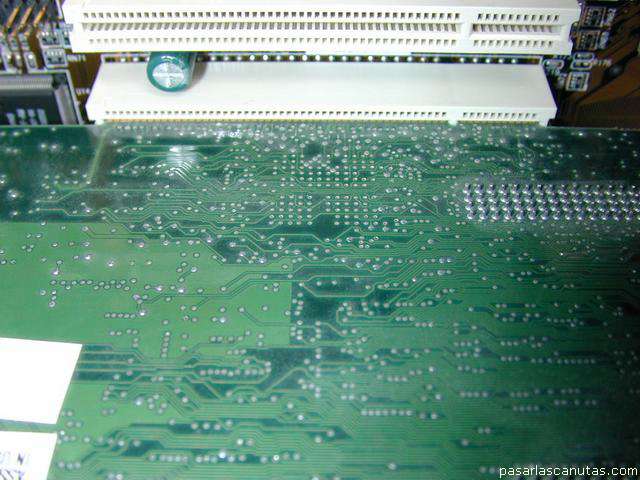
... it fits well into the connector, but ...
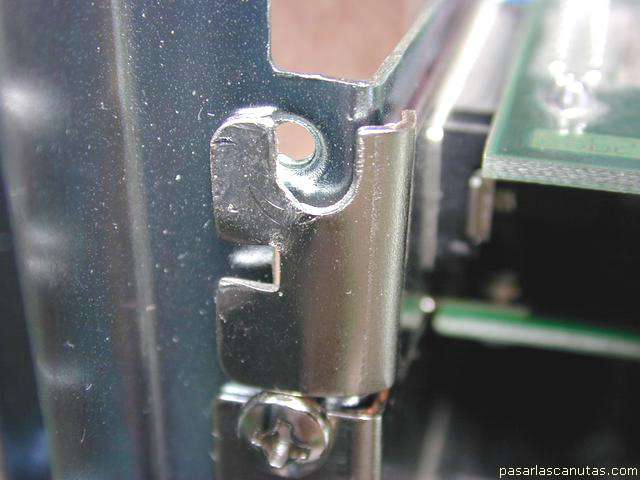
the holding plate is over the threaded hole, covering it partly. If I proceed so, when placing the screw, the board will be slightly removed from one side of the connector, and will probably generate problems, so I ...
...
(very important)
open the lid with pliers ...
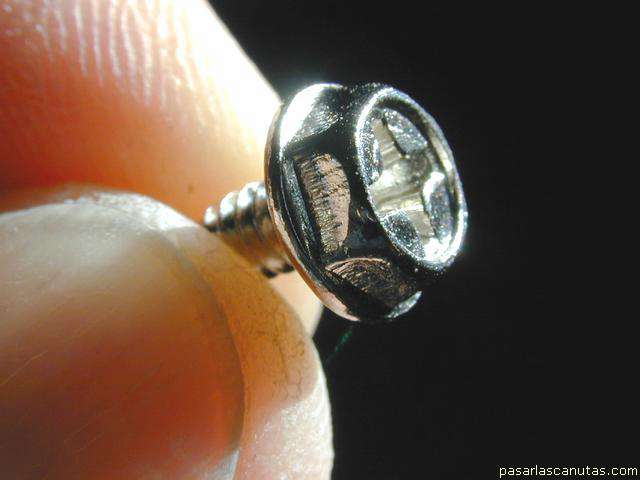
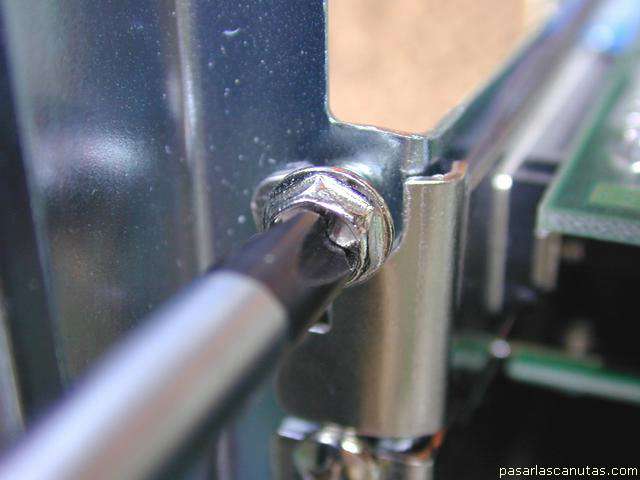
... and, with this big head screw ...
... fasten the board.
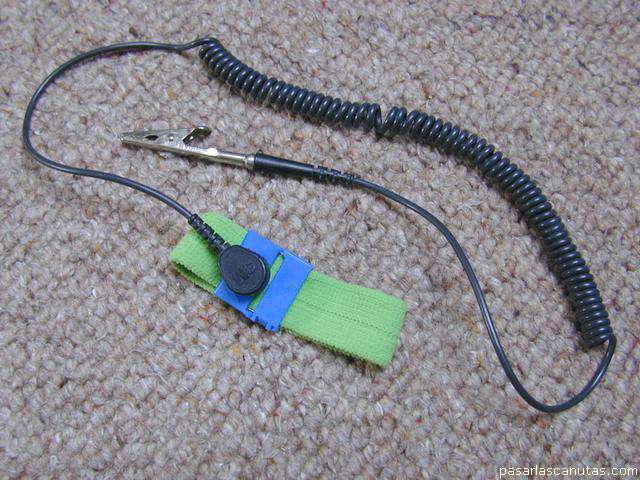
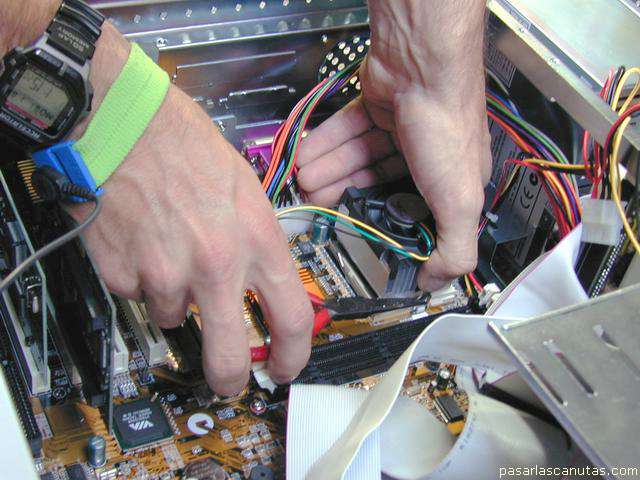
Now, to handle the CPU and memory, as I have an antistatic bracelet ...
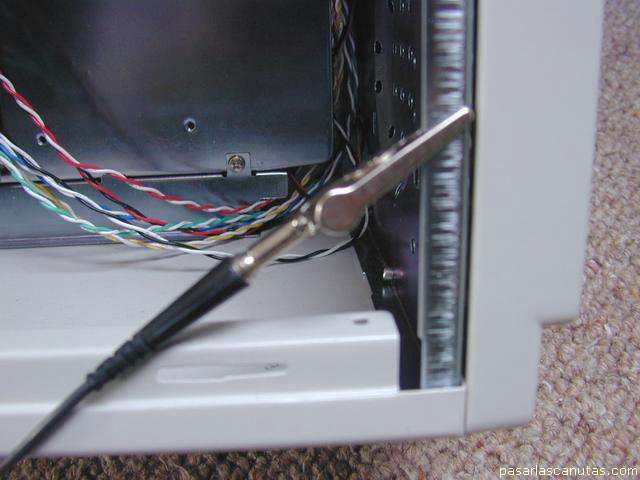
... I connect to a metal part of the box ...
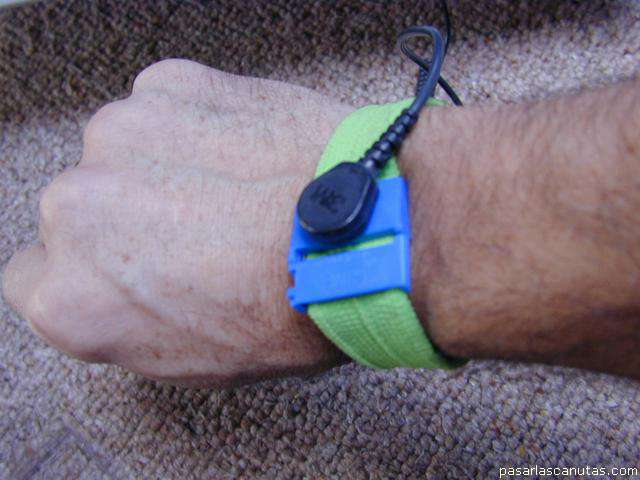
... and wear it. In case there is no bracelet, it is necessary to touch the chassis often. Anyway I avoid touching the CPU pins, neither the memory, except by the non metallic edge.
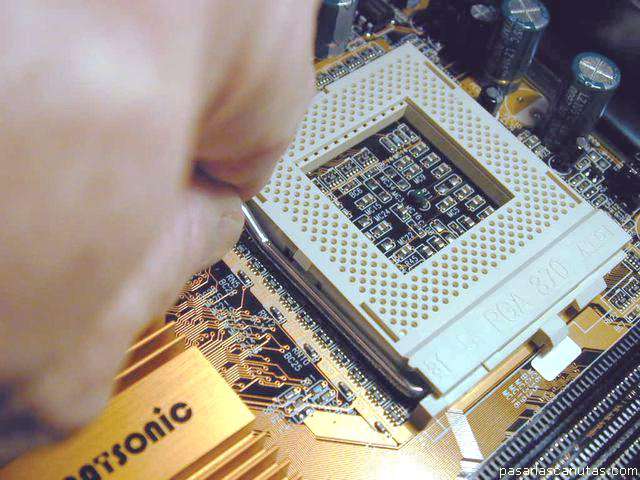
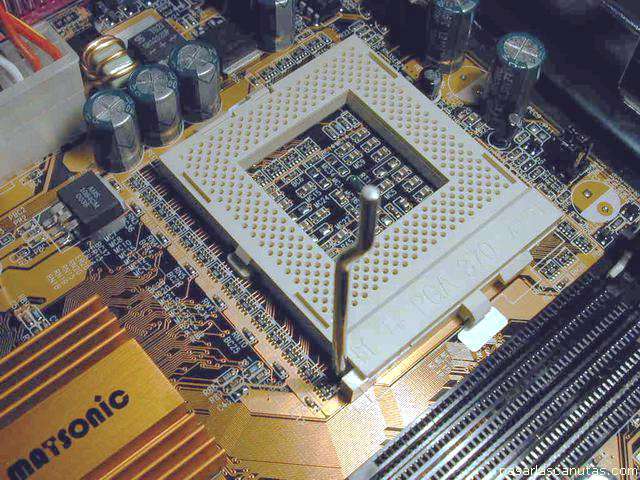
I push downwards and pull a little left to release the little lever ...
that blocks the CPU pins ...
(NOW I ADVISE TO READ SEVERAL TIMES AND PAY MUCH ATTENTION TO WHAT FOLLOWS, IF YOU INTEND TO MAKE SOMETHING LIKE THIS FOR THE FIRST TIME)
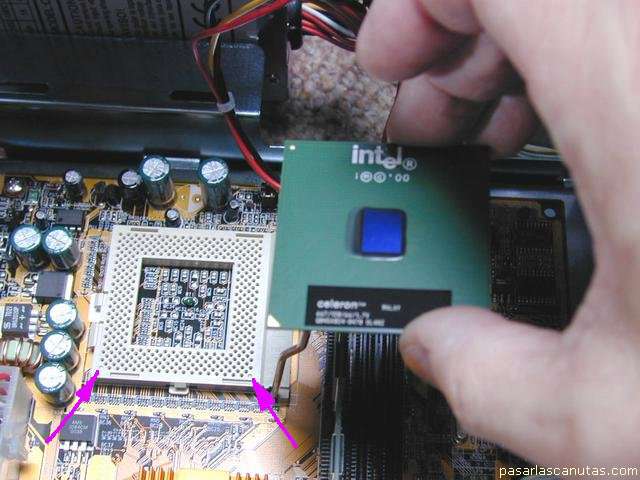
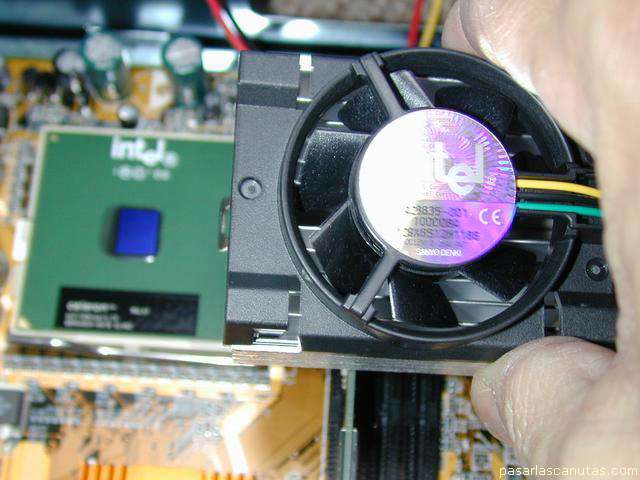
I place the CPU in the position that is seen (the CPU lacks two pins, to register with the two blind holes pointed by the arrows -click on the photograph to enlarge and see in detail-) ...
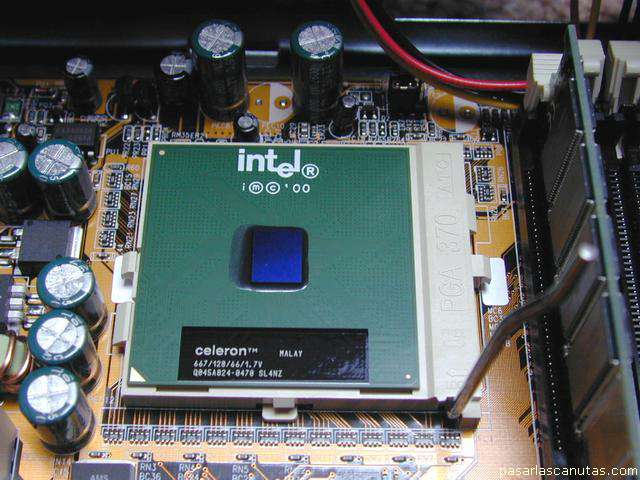
... the 370 CPU pins have fitted into the socket 370 holes. Now I lower the little lever to block the CPU. This CPU practically has not protection by above: the chip (blue) is uncovered.
In order to place the heat sink, a critical component that INTEL supplies along with the CPU, I check the Intel's handbook, that indicates an exact position of the heat sink, and advices not to touch the white silicone that it carries underneath ...
VERY CAREFULLY
, I approach the heat sink in the position indicated by the handbook ...
... and place it
PERFECLY ALIGNED
just over the CPU (it is necessary not to move it further, to avoid spoiling the fine layer of white silicone that is now touching the top of the blue CPU chip).
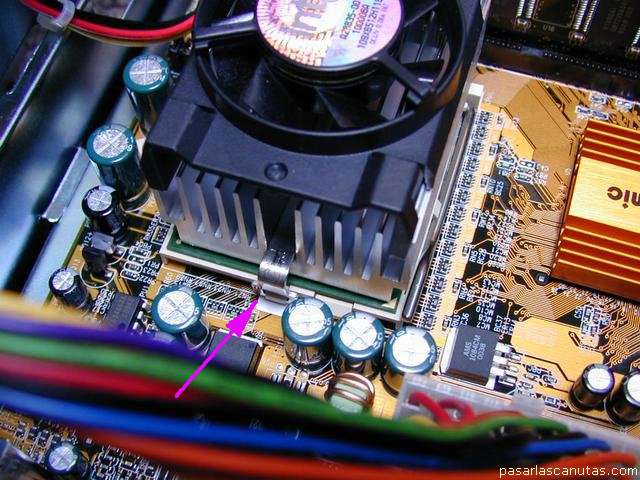
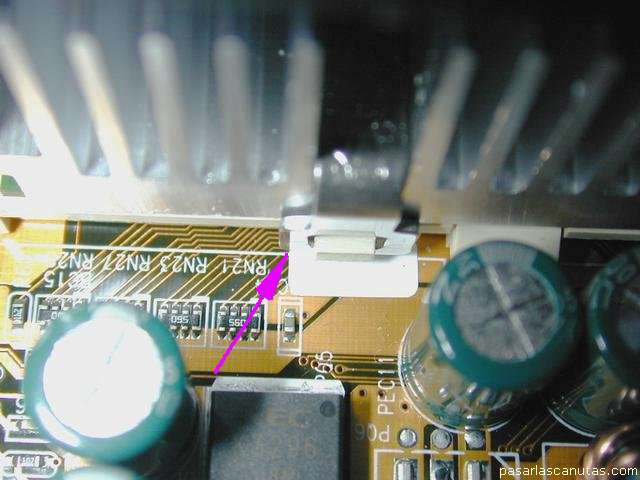
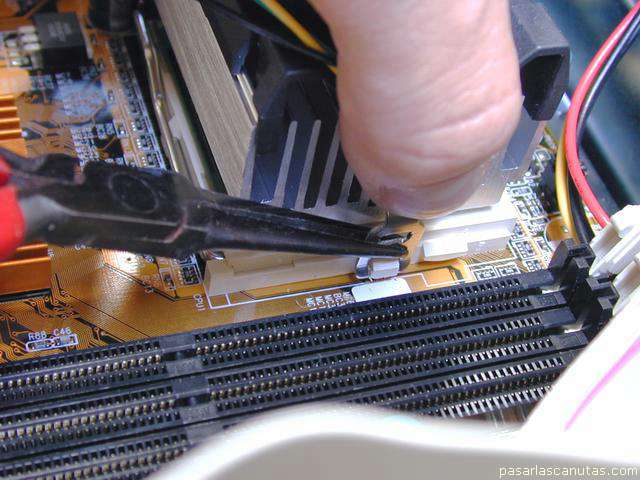
Now I hook the bracket that joins heat sink and socket, first by the opposite side to the heat sink wires ...
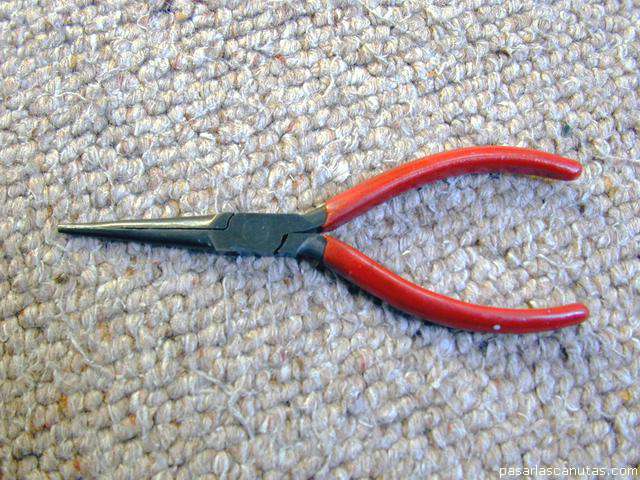
... and after, with fine ends pliers ...
... by the side of the heat sink wires, in the position of the photograph
(THIS IS THE MOST DIFFICULT PART OF THE ASSEMBLY)
...
... pushing downwards with a hand's thumb, and, with the other hand, pulling outwards with the pliers end, ...
Copyright © story, texts and photographs are property of the owner of
www.pasarlascanutas.com
. Their use is only and exclusively authorized for personal non-profit use at home.
pg 1
pg 2
pg 3
pg 4
pg 5
pg 6
page 7 (current)
pg 8
pg 9
pg 10
www.coloredhome.com (home)