A complete home PC assembly.
Page 6 of 10.
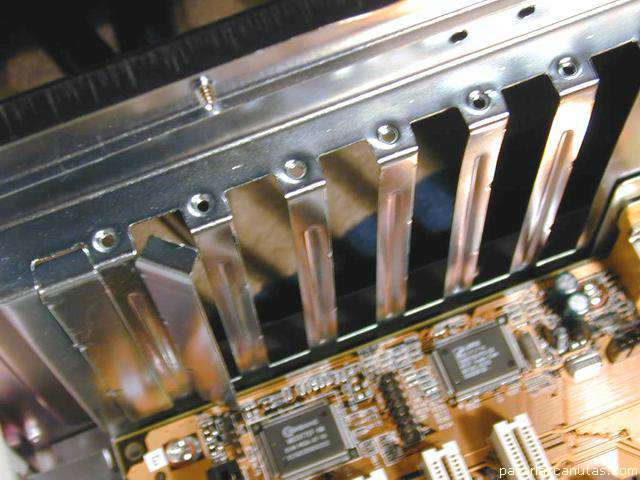
... that cover the outlets of them.
View from the rear, with all the plates removed (7 hollows).
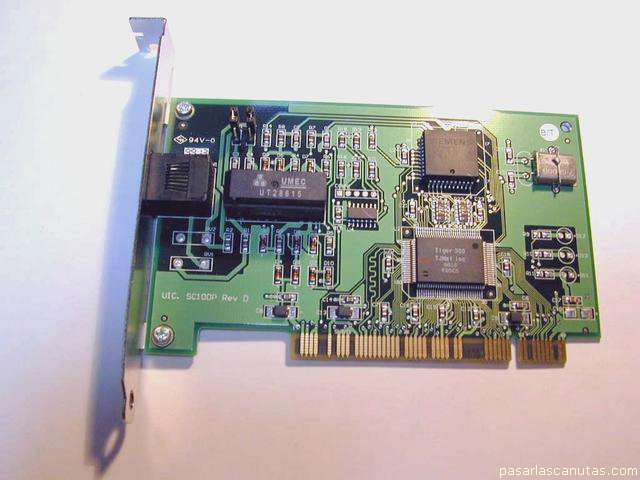
Now I am going to assemble the ISDN communication board ...
... and the LAN one ... (I know that in many homes there is no LAN neither ISDN -the modem would be in its place-, but it is in case you have them someday).
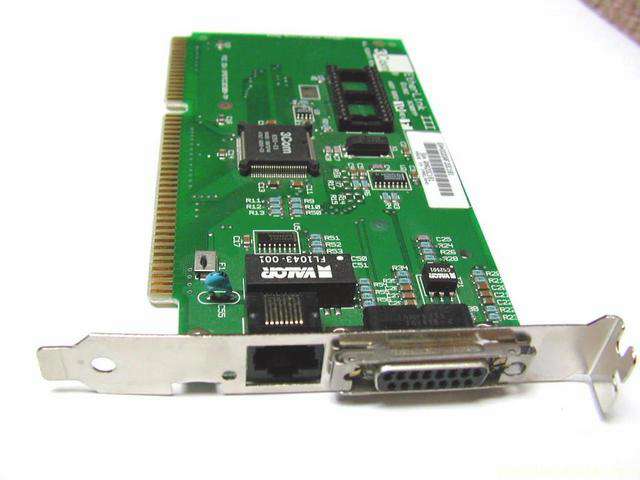
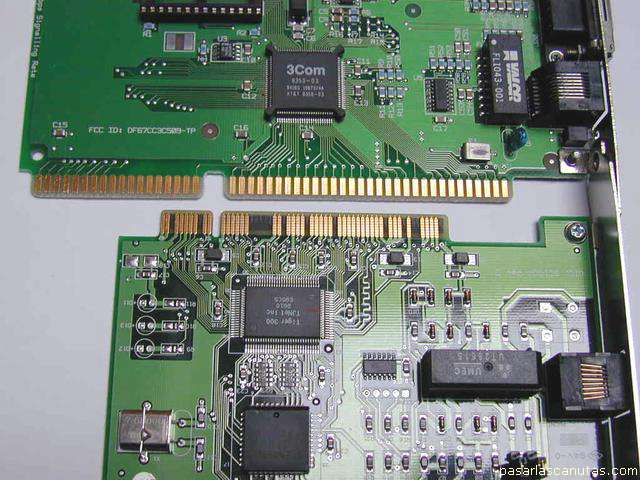
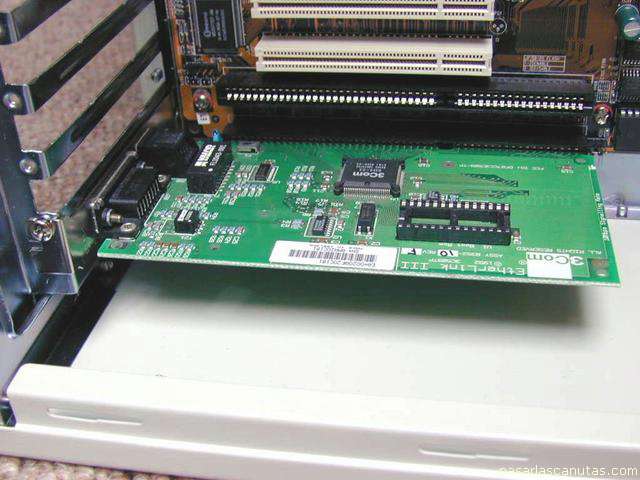
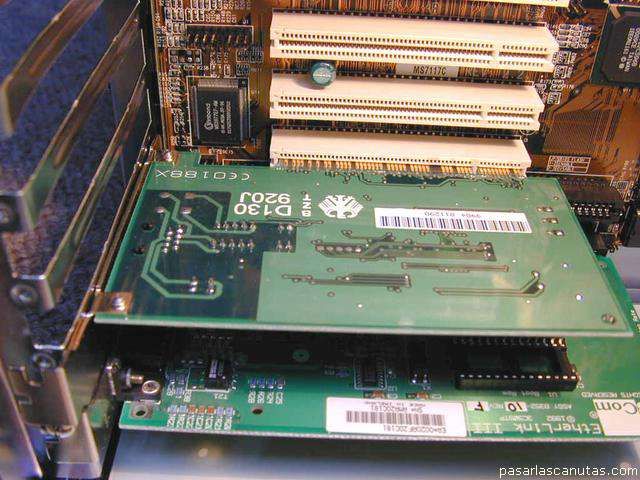
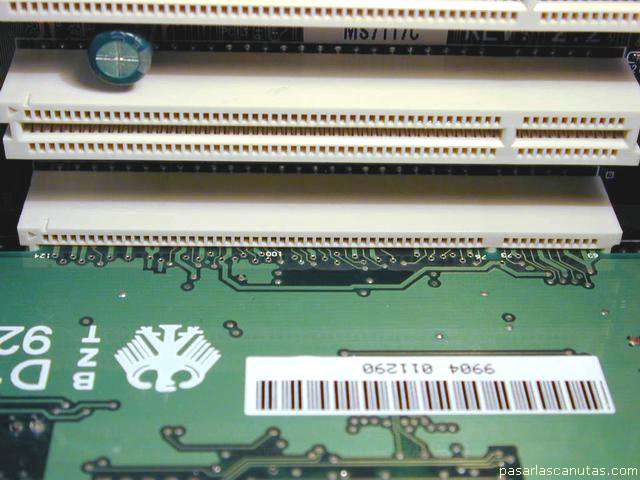
The LAN board (above) is the old ISA type, and the ISDN one (down) is PCI type. Here you can see the difference in the connectors.
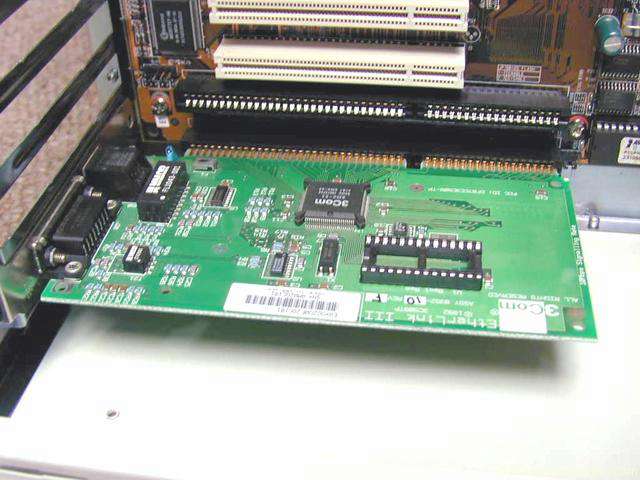
Now plugging the LAN board ...
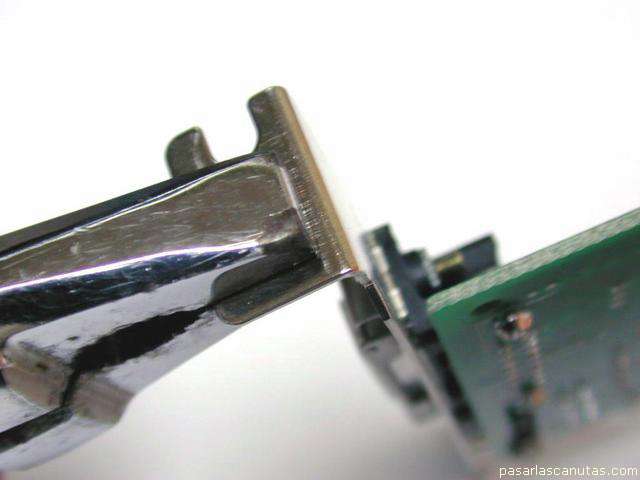
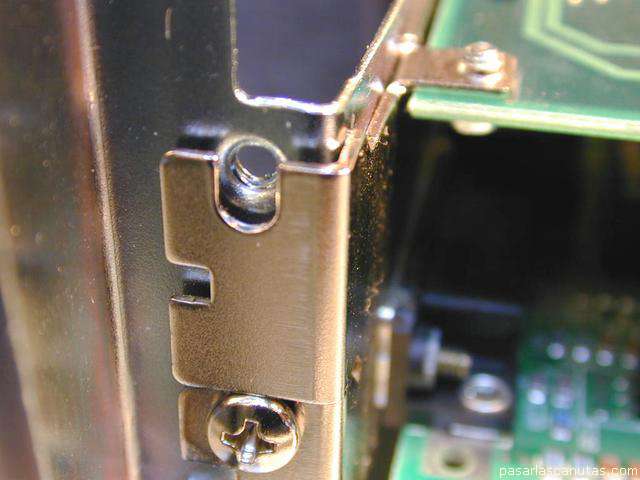
... as it fits more by one side than the other, I open the plate's angle with pliers, for a perfect connection.
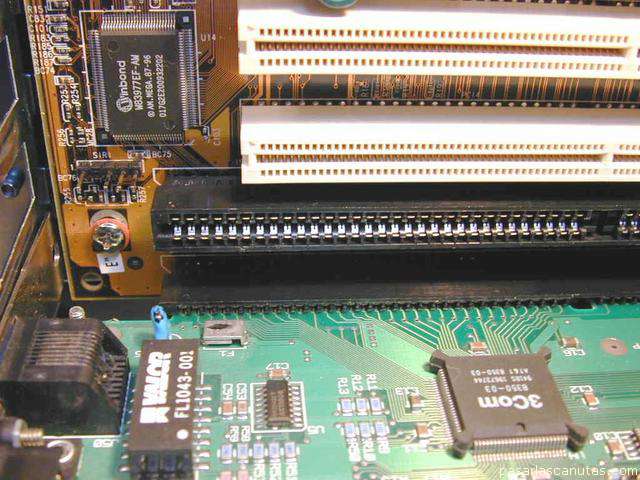
Now the connector is perfectly plugged by both sides. This is
very important
, since most operation failures in PC's are due to a bad connection between boards and motherboard.
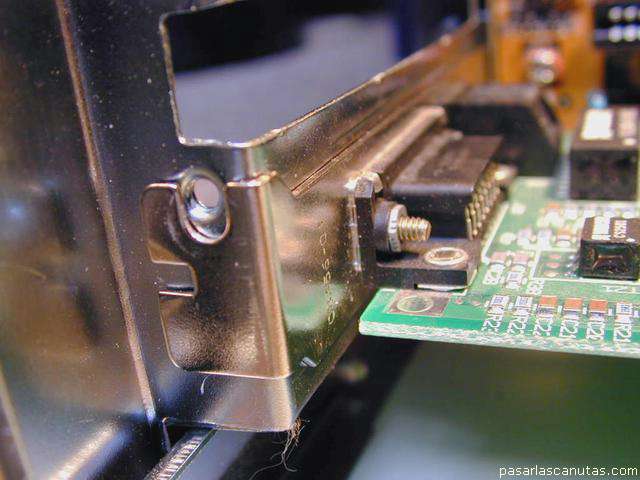
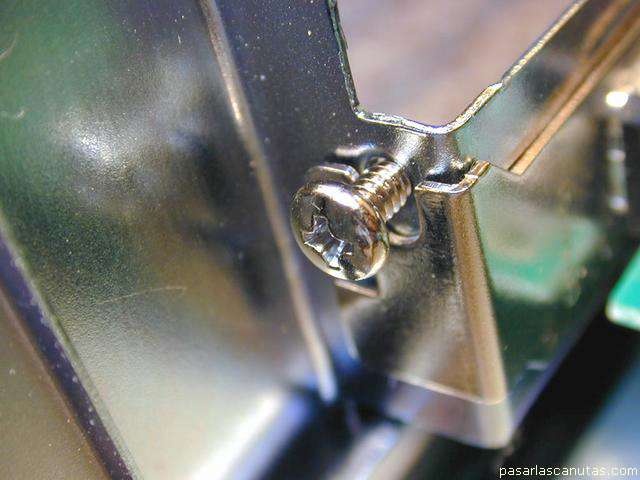
Now it is ok. ...
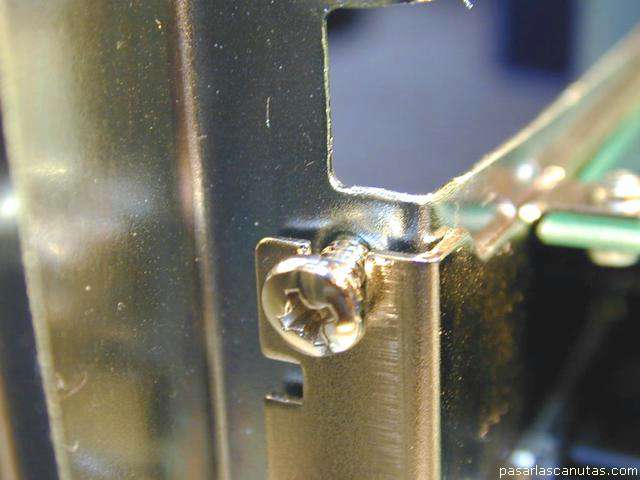
... I place the screw ...
... view from the rear ...
... ready.
The ISDN board fits perfectly ...
... by both sides ...
... so ...
... I just place the screw.
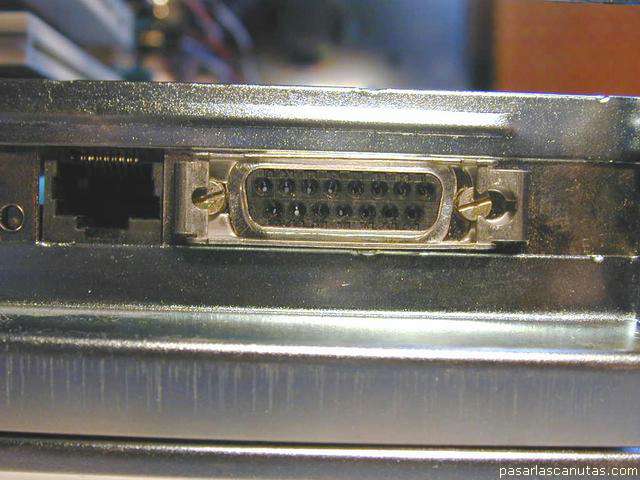
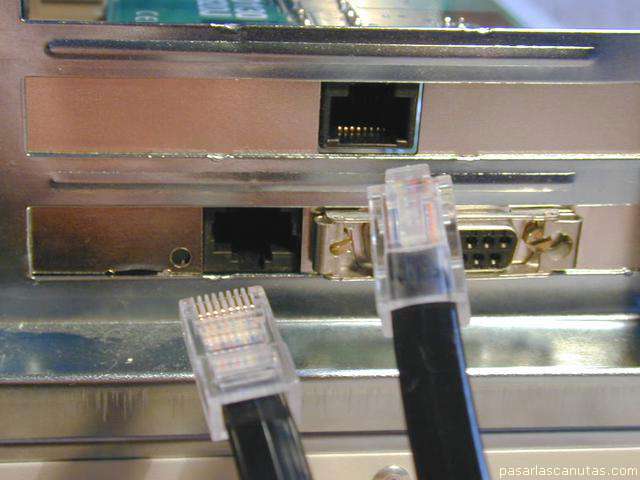
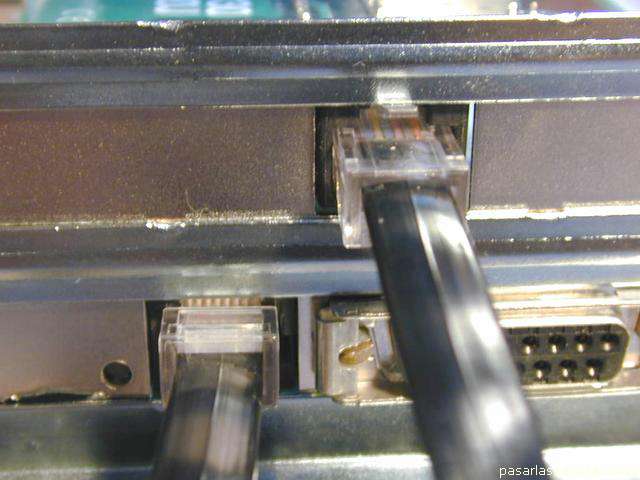
Now I verify that the RJ45 connectors ...
... plug without any problem ...
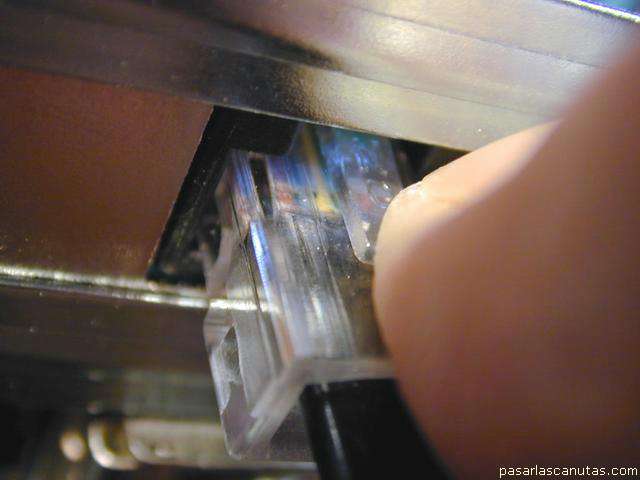
... and remove them after pushing the small retention lever.
This is a view of the PC at this moment. I am progressing slowly, but surely.
Copyright © story, texts and photographs are property of the owner of
www.pasarlascanutas.com
. Their use is only and exclusively authorized for personal non-profit use at home.
pg 1
pg 2
pg 3
pg 4
pg 5
page 6 (current)
pg 7
pg 8
pg 9
pg 10
www.colorehome.com (home)